ConvertBox has powerful inline/embedded features allowing you to show targeted onsite messages inside areas of your webpages and content.
Showing ConvertBox inside your content is an extremely effective and non-intrusive method to engage and convert visitors as they are browsing your site.
Let’s walk though the simple steps to create an embedded ConvertBox.
Step 1 – Selecting ConvertBox type
When creating a new ConvertBox you will see two options Overlay and Embedded select the option for embedded.
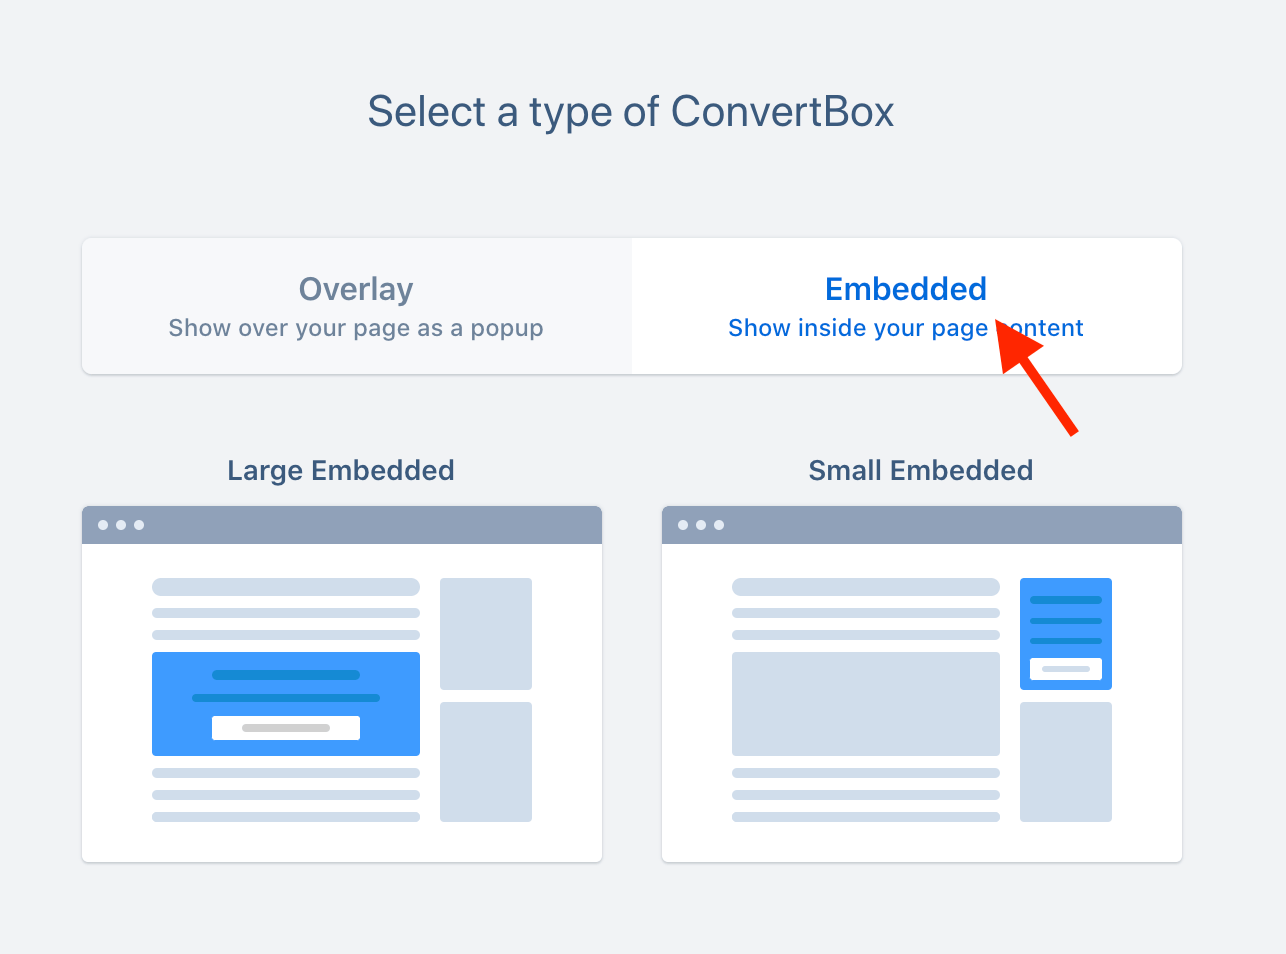
Now select from either Embedded small or Embedded large.
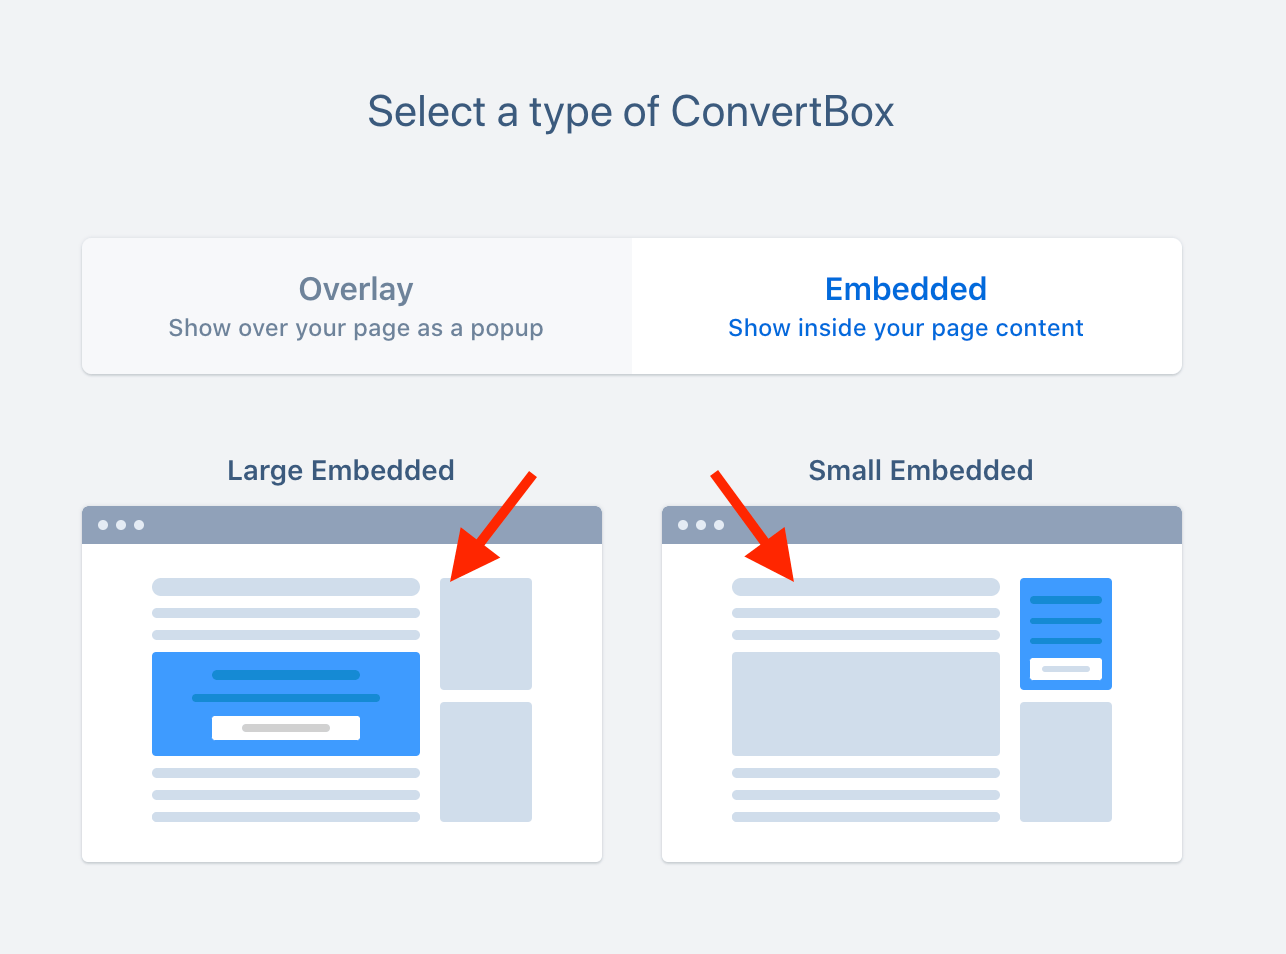
Embedded small is a single column layout designed for small narrow areas such as footers or sidebars.
Embedded large is a single or split column layout designed for large wider areas such on your home page or in your blog post content.
Don’t worry, you can easily switch between layouts later in the editor if needed.
Step 2 – Choose a template
After selecting a ConvertBox type you will be shown a selection of templates built in our editor. These are only starting points and full customizable so choose something closest to what you are trying to create and then quickly customize it in our editor.
Or alternatively if you prefer you can start from scratch and build from a blank template.

Step 3 – Customizing the layout and width
You can customize your ConvertBox as you would normally using our powerful drag and drop editor.
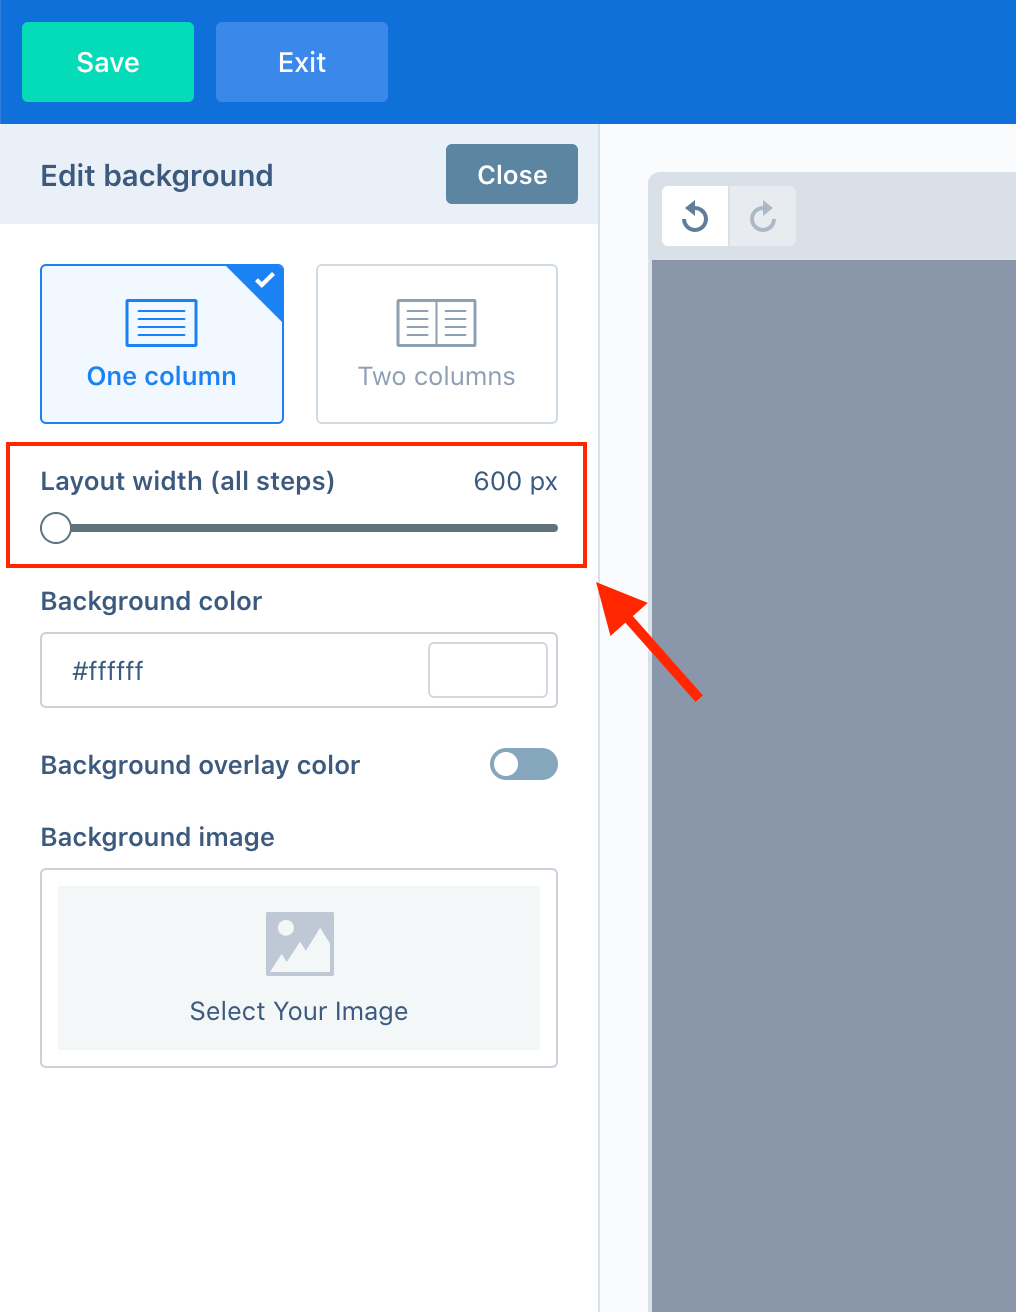
However, there is one additional option for the layout width that is only available when editing an embedded ConvertBox.
When a ConvertBox is embedded into your page it will expand to fill the width of the area it is embedded inside. So depending on the page area and design you may want to adjust the max-width of your ConvertBox to suit your layout.
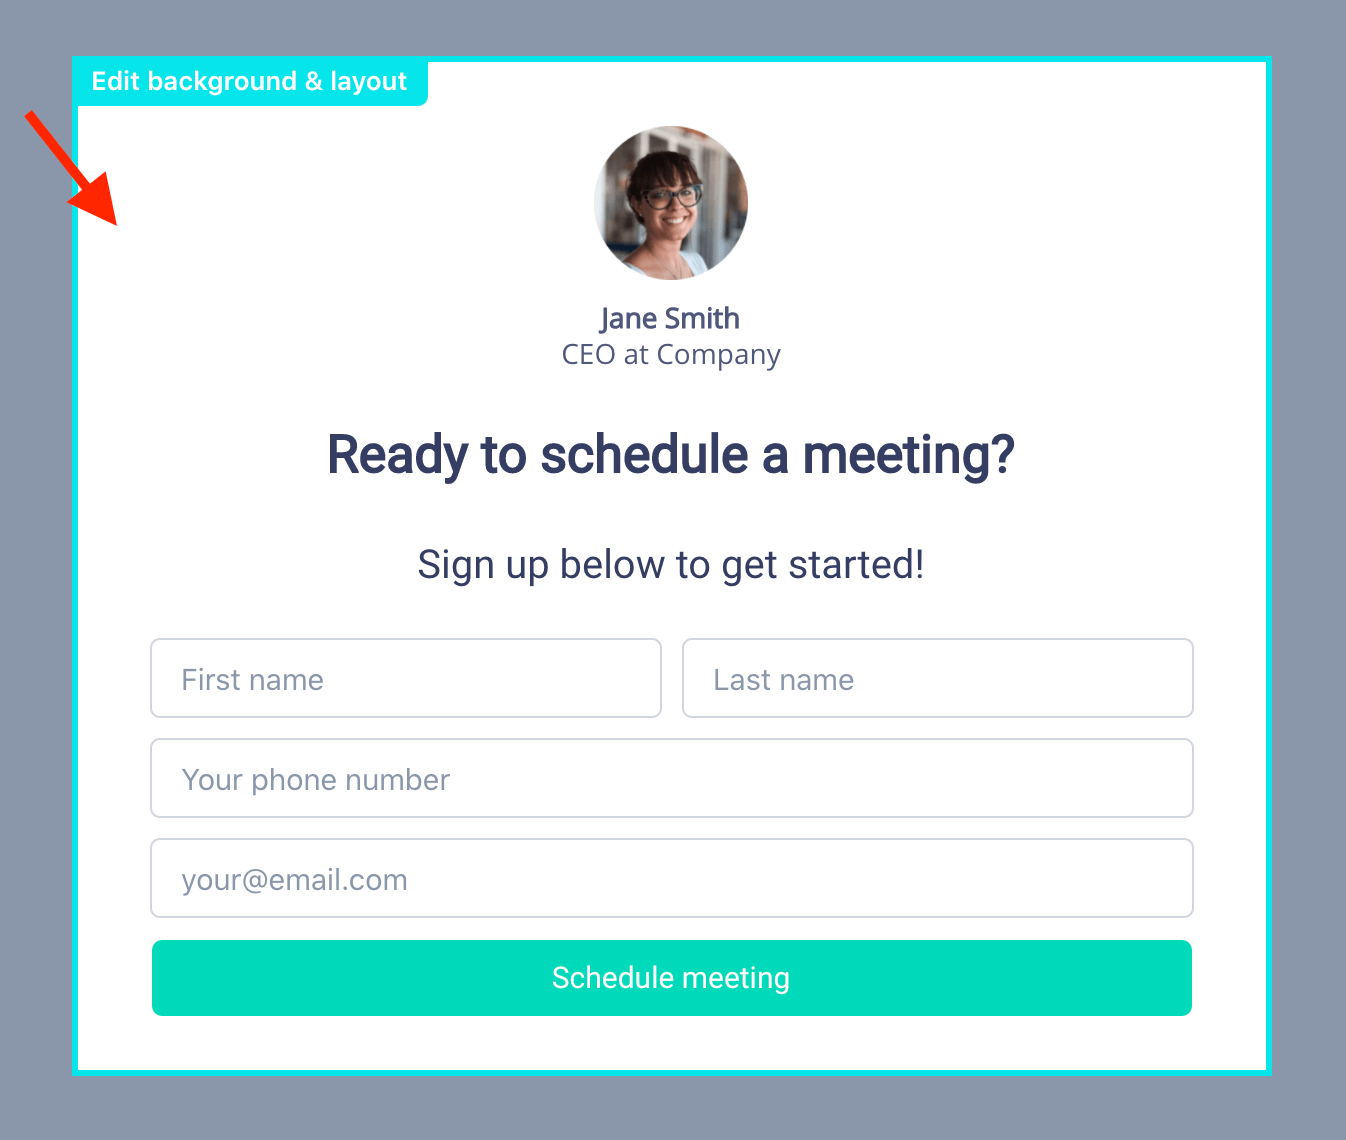
The max width of your ConvertBox can be adjusted by selecting the background element.
And then adjusting the Layout width on the side bar, this width is global and applies to all steps in your ConvertBox.
Once you’ve finished customizing your ConvertBox select Next to go to the Display tab.
Step 4 – Selecting embed areas
On the display tab you will see a section called Embed areas.
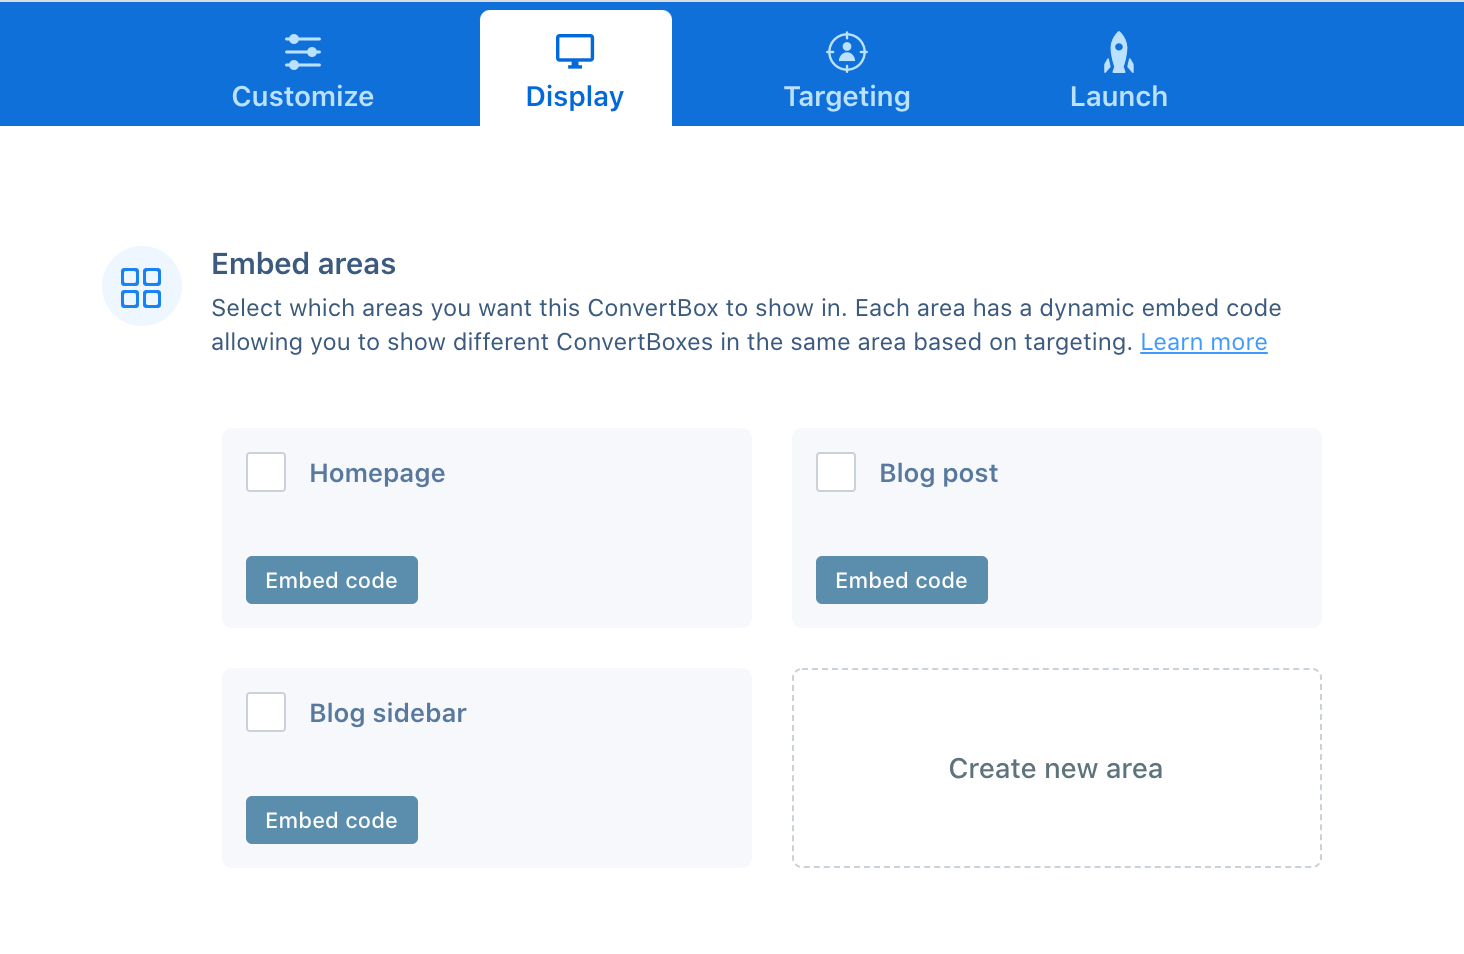
Before getting started it’s important to understand how embed areas in ConvertBox work.
Unlike traditional embed codes which provide one embed code for each form/widget, with ConvertBox each area has a unique dynamic embed code. This dynamic embed code allows you to show different ConvertBoxes in the same area depending on your targeting conditional rules.
Here’s an example of how you might use this powerful feature..
Let’s say you created an embed area called “Blog page at bottom” and added the embed code to the bottom of your blog.
You could then create several different ConvertBoxes to show in this area each targeted at visitors in different stages of your sales journey.
For example..
ConvertBox #1
– Lead magnet for a free training.
– Targeting new or unknown visitors.
ConvertBox #2
– Free trial/demo/discount offer.
– Targeting visitors who recently subscribed to lead magnet.
ConvertBox #3
– Advanced training course.
– Targeting visitors on your customer list.
All three of these ConvertBoxes can be set to show in the same area and will only show if the conditional rules are met for each ConvertBox. This means you can create truly dynamic messages/offers in your pages based on what stage visitors are your sales journey. ?
When creating embed areas it’s best to take a moment to consider where you will be embedding ConvertBox in your site and then create a seperate area for each location.
A newly created site will have 3 embed areas created by default for Home page, Blog post and Blog sidebar. You can use these default areas as starting points, edit them, or create new areas to fit your needs and website layout.
Once you have named and organised your embed areas select which areas you want your current ConvertBox to show in by selecting the area checkbox.

To get the embed code for an area select the Embed code button.
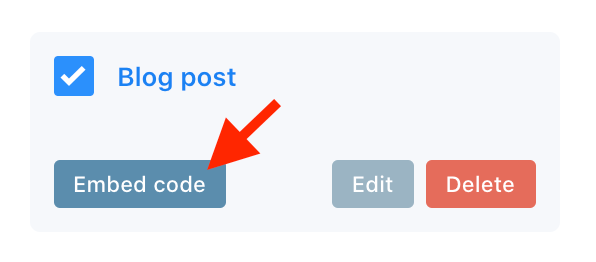
This will open a modal with two embed options.
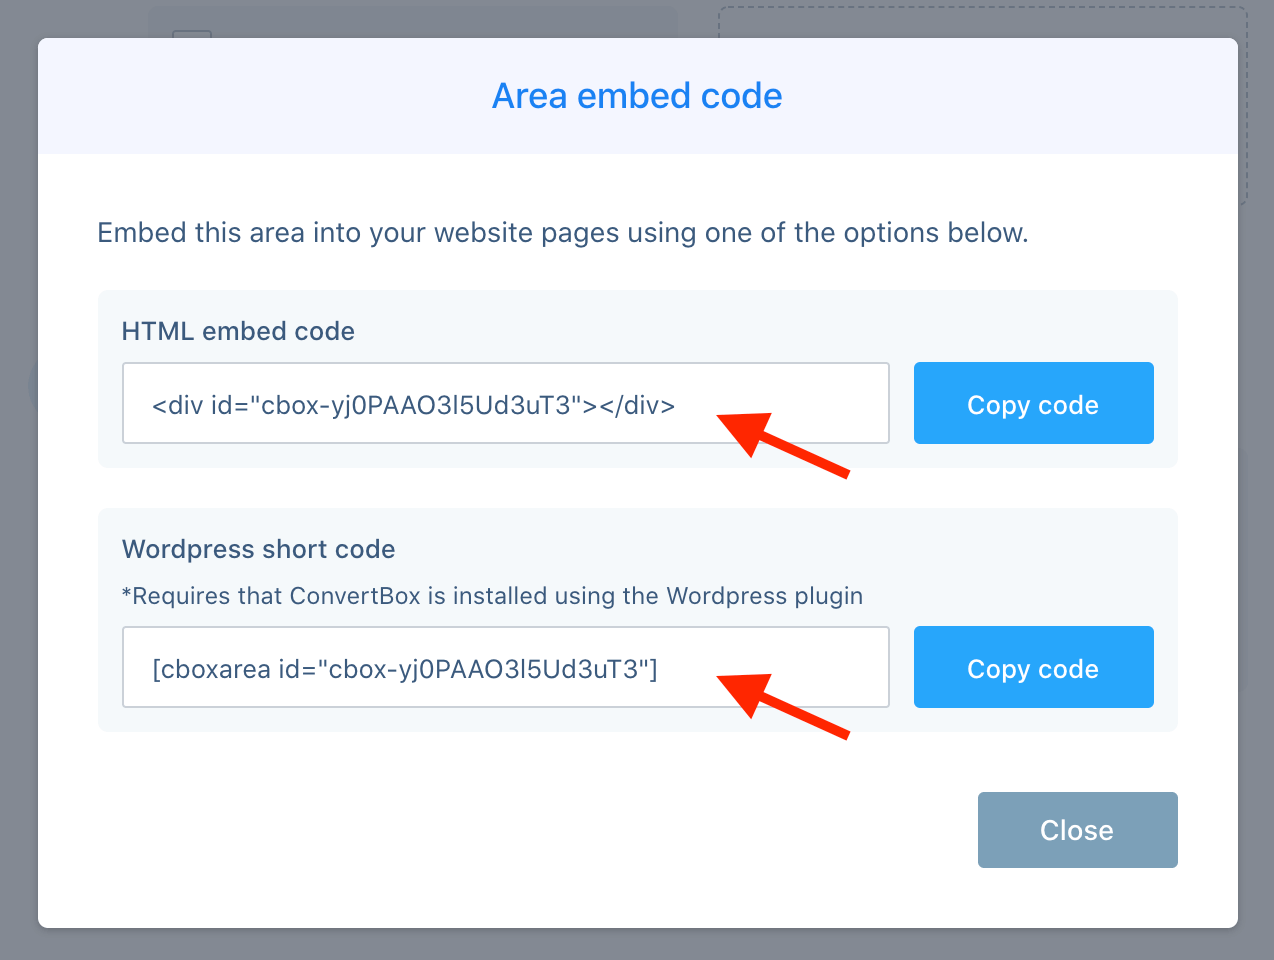
Option 1 – HTML embed code
This embed code can be used anywhere on your site and is the best option if you are inserting the embed code into any type of standard HTML page.
Option 2 – WordPress short code
This embed code can be used directly inside your WordPress posts or pages.
Please note: This option requires you have installed ConvertBox on your site using our WordPress plugin rather than adding our script into your page header.
Step 5 – Location
Below the embed areas you will see another section called Location.
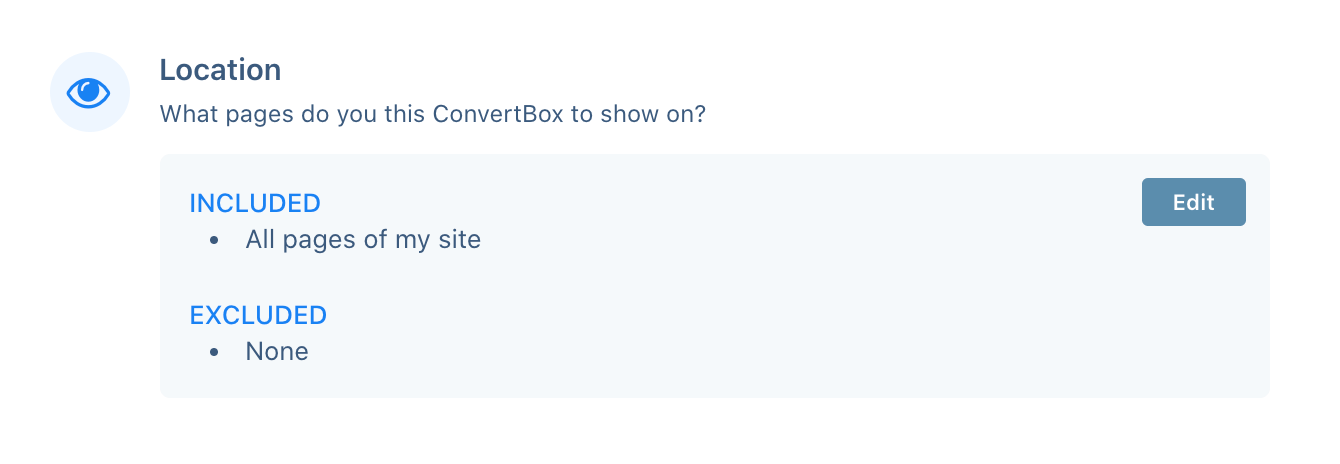
In some cases your embed area may show across multiple pages of your site, a good example of this would be a footer or a blog side bar.
If you want the ConvertBox to only show in an embed area if the visitor is on specific pages then you can add rules here to include or exclude specific pages of your site.
In most cases you will not need to use this option and you can leave it set to the default of “All pages of your site”.
Step 6 – Targeting
With all types of ConvertBoxes (overlays or embedded) you can either show to all visitors or target specific visitors on your site using our advanced conditional rules.
A detailed example of how targeting works specifically with embedded ConvertBoxes and embed areas is given above in step 3.
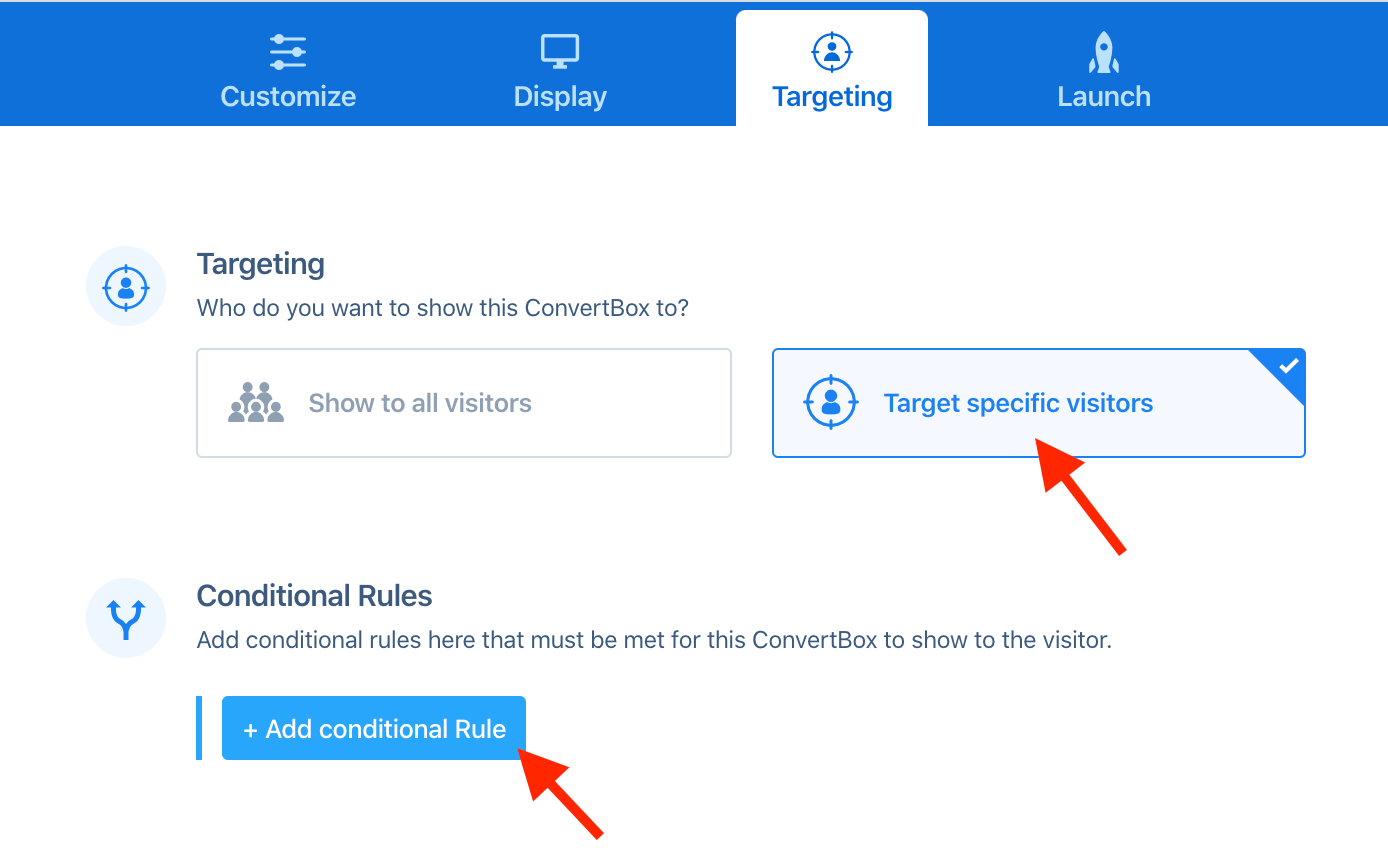
Once you have set your targeting select Next to go to the final step.
Step 7 – Launch
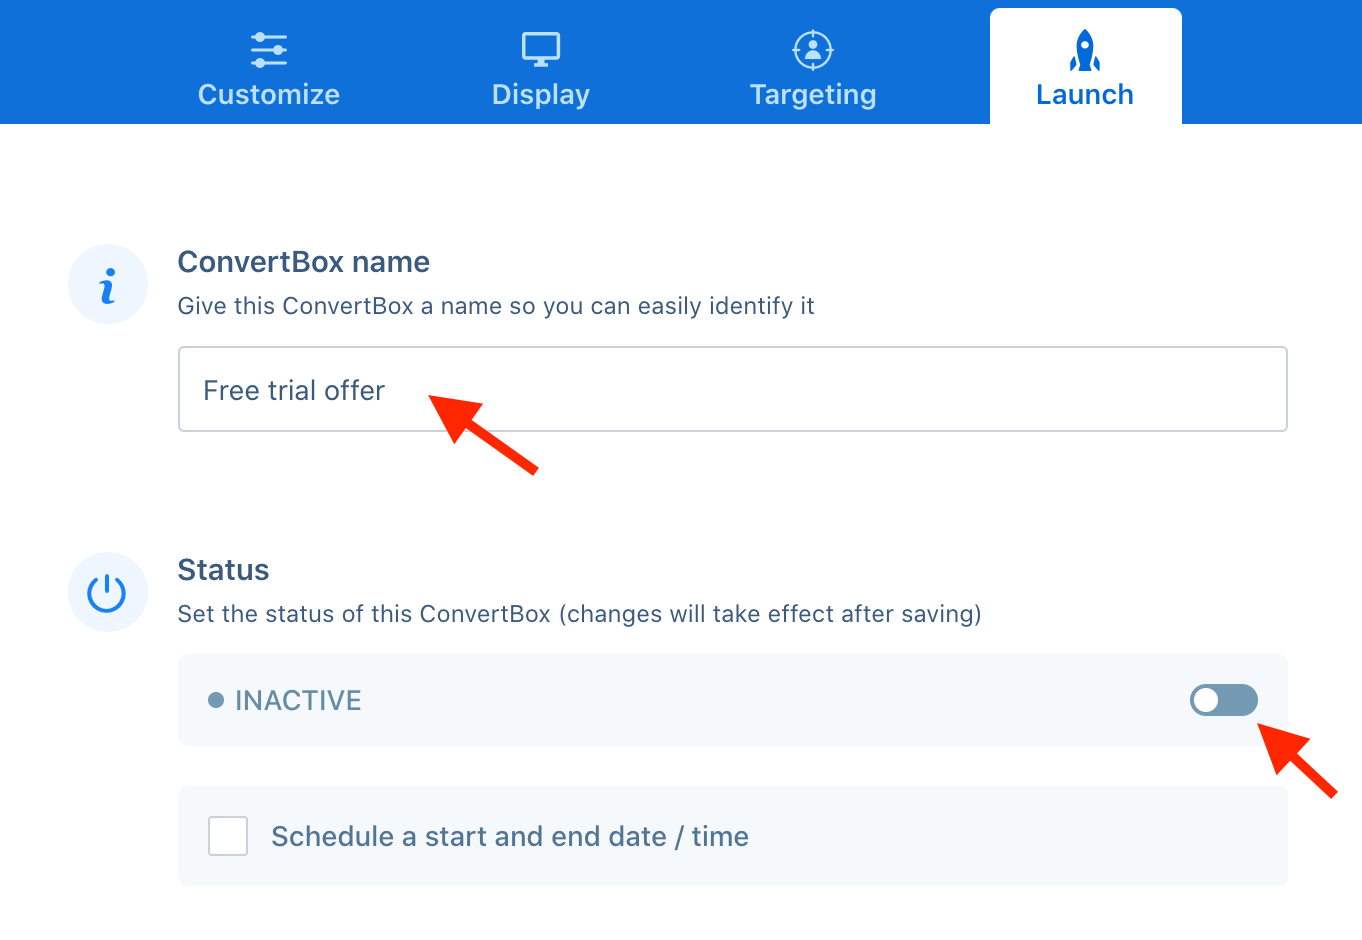
On the launch tab you can name your ConvertBox and if you are ready for it to show on your website you can activate it now. If you prefer to leave it inactive you can always activate it here later or directly from the dashboard.
You’re all done! ?
Congratulations, you’ve created an embedded ConvertBox and if everything went well it should be showing on your page!
If you have an issues or questions please reach out to our support team and we would be happy to help.
