If you’re looking to connect ConvertBox to a platform or service that we don’t currently have a native integration for then Zapier is the perfect solution!
Using our webhooks to create a Zapier integration allows you to easily connect ConvertBox to hundreds of platforms and services.
In this short article we’ll show you how to setup ConvertBox as a trigger in Zapier ready to start connecting your favourite apps.
Step 1
Log into your Zapier account and select Make a Zap from the header menu.

Step 2
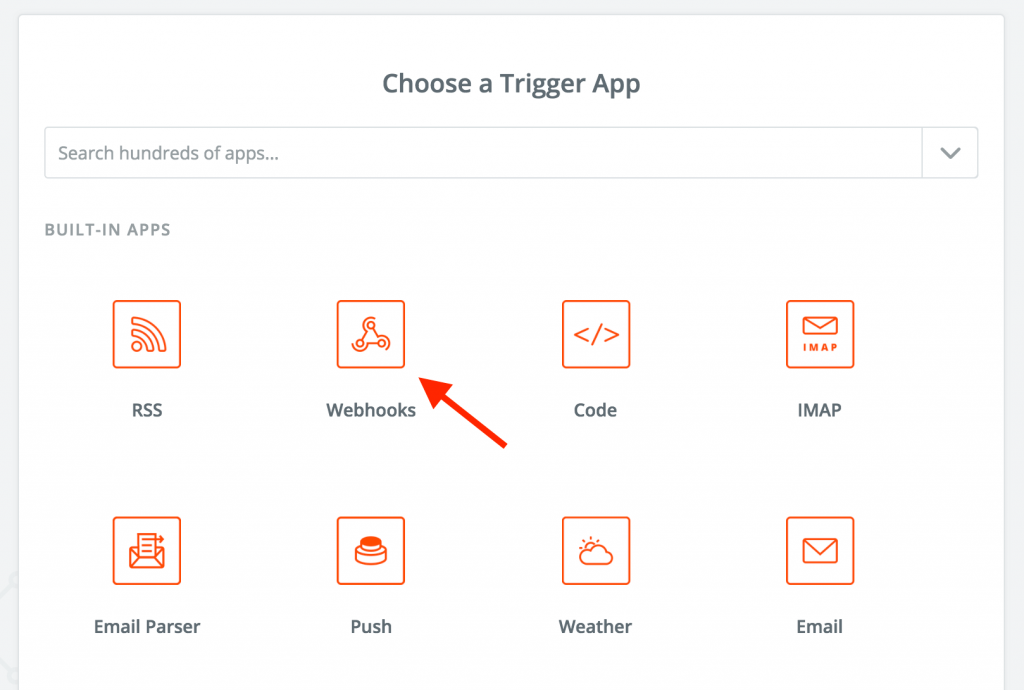
Select webhooks for the trigger app, if you don’t see the webhooks icon you can type it in the search field.
Step 3
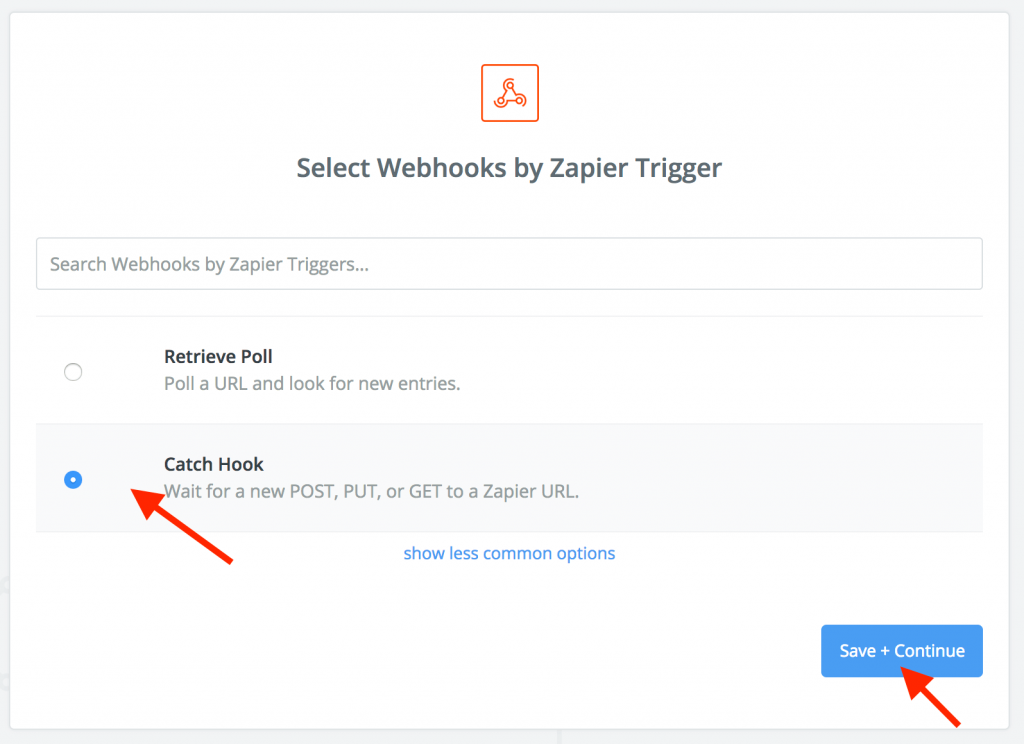
Select Catch Hook as the webhook type and then click Save + Continue.
Step 4
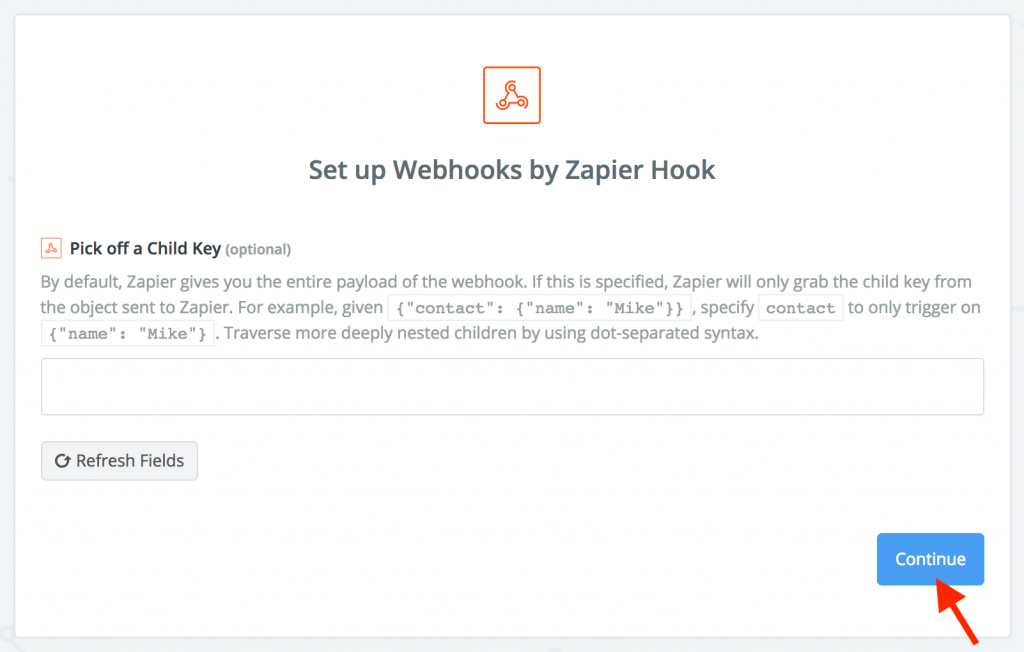
Next, Zapier will provide you the option to Pick off a Child Key. This is optional and leaving this option empty will allow you to grab all the data that ConvertBox passes.
Leave this field empty and click Continue.
Step 5
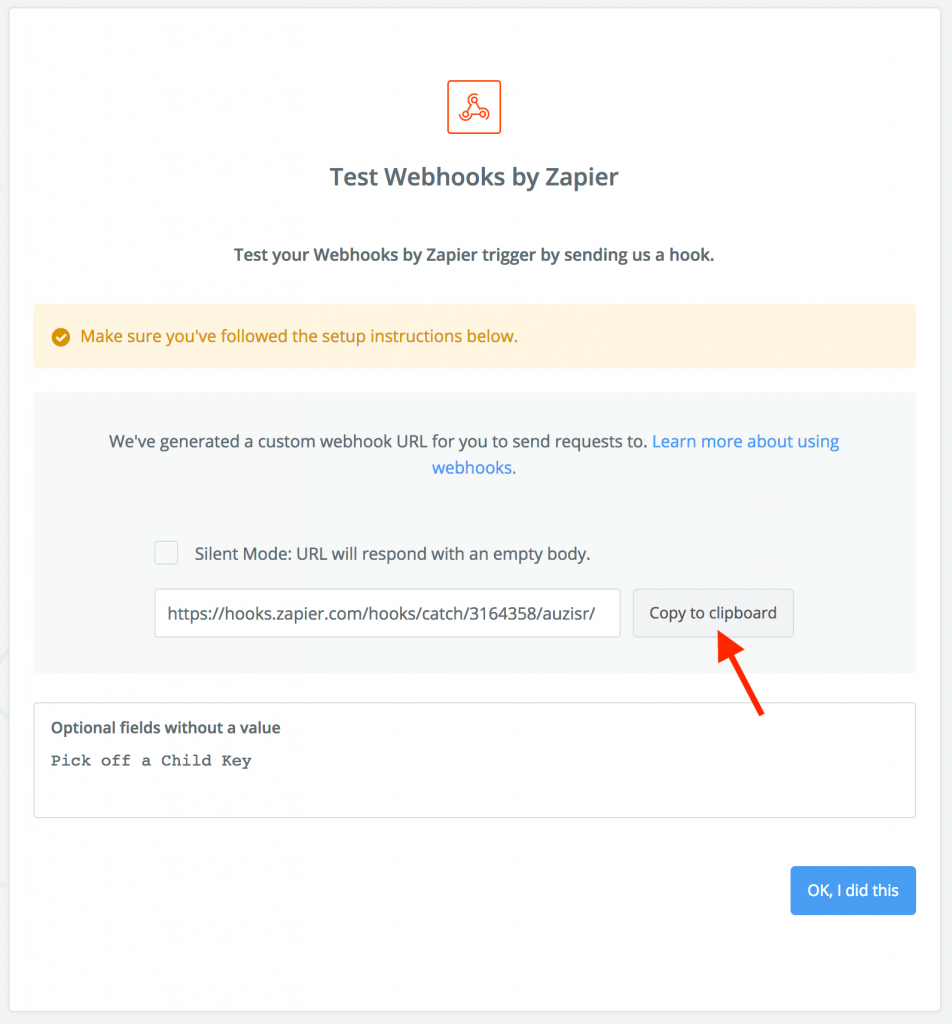
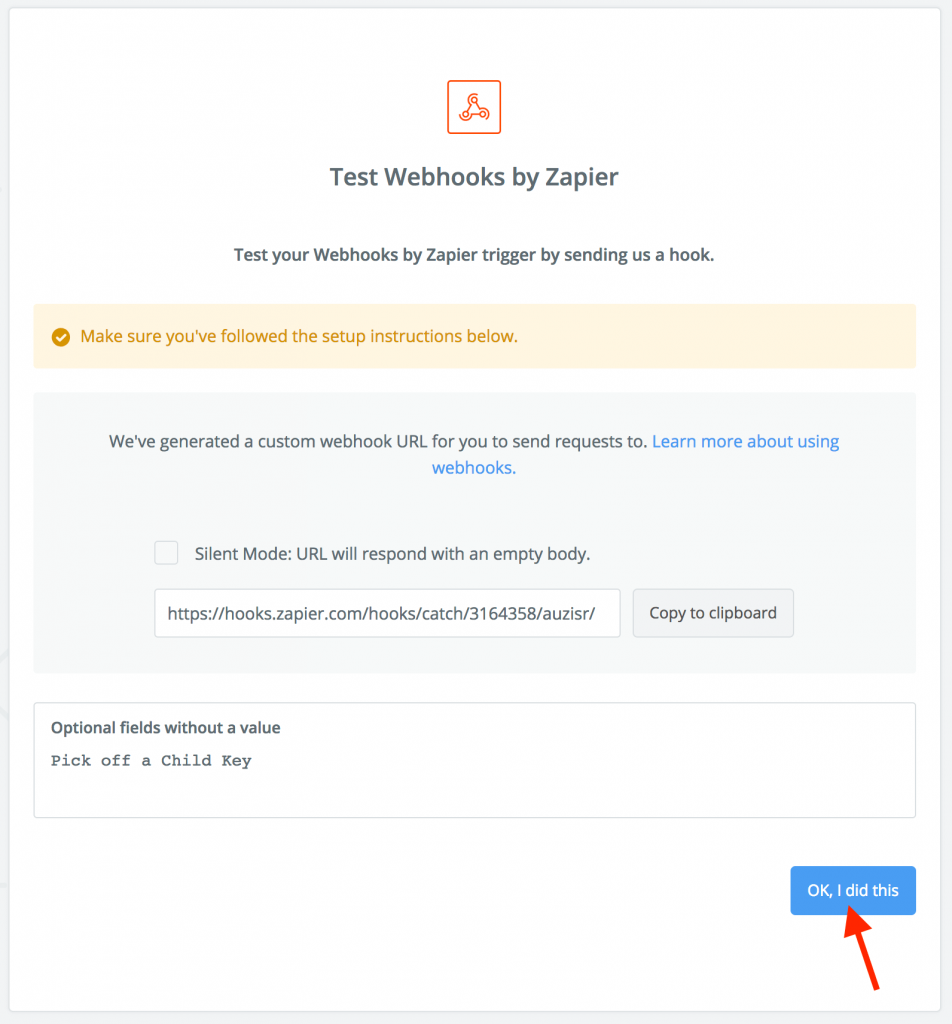
Zapier will now provide you with a webhook URL, you are going to need this in our next step inside the ConvertBox app so click Copy to clipboard.
Step 6
Keep the Zapier page open and in ConvertBox select the form element you want to connect Zapier to.
In the ConvertBox editor select your form element.
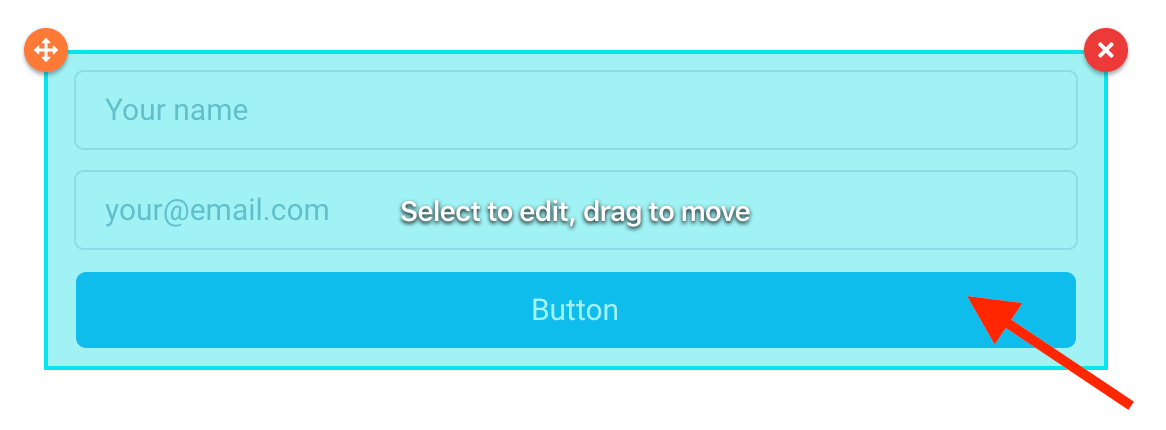
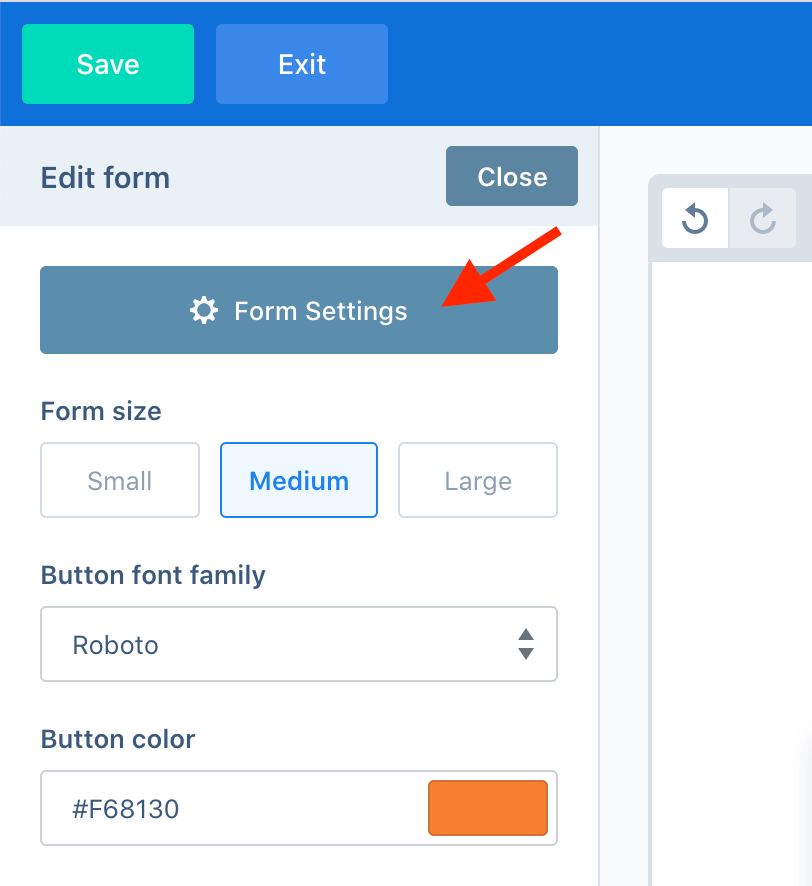
Then on the left sidebar select the Form settings button.
Step 7
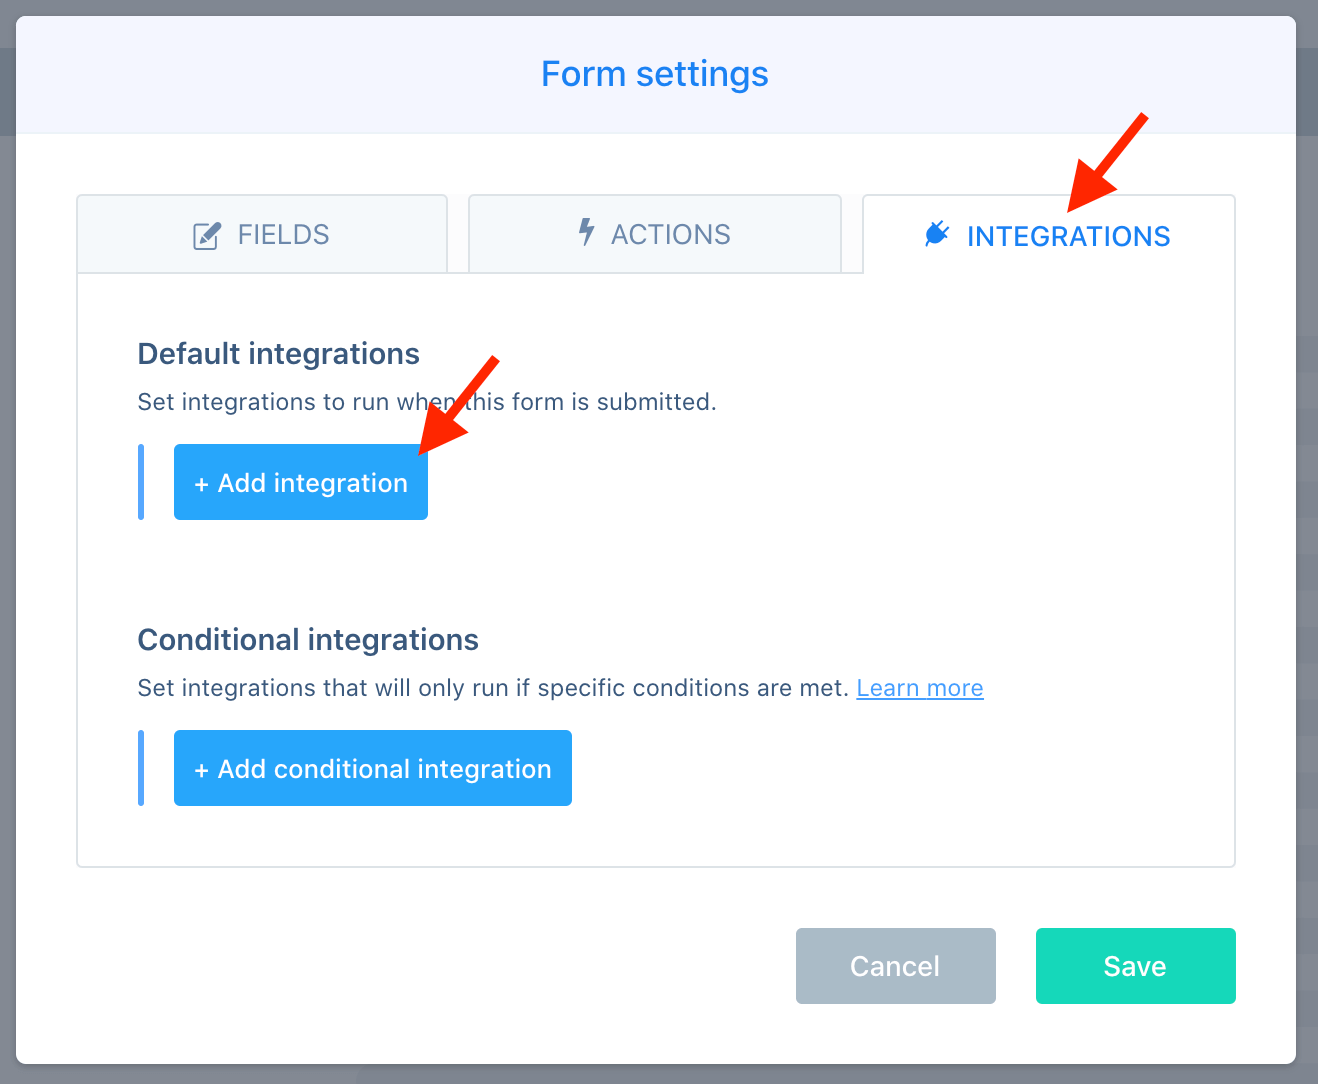
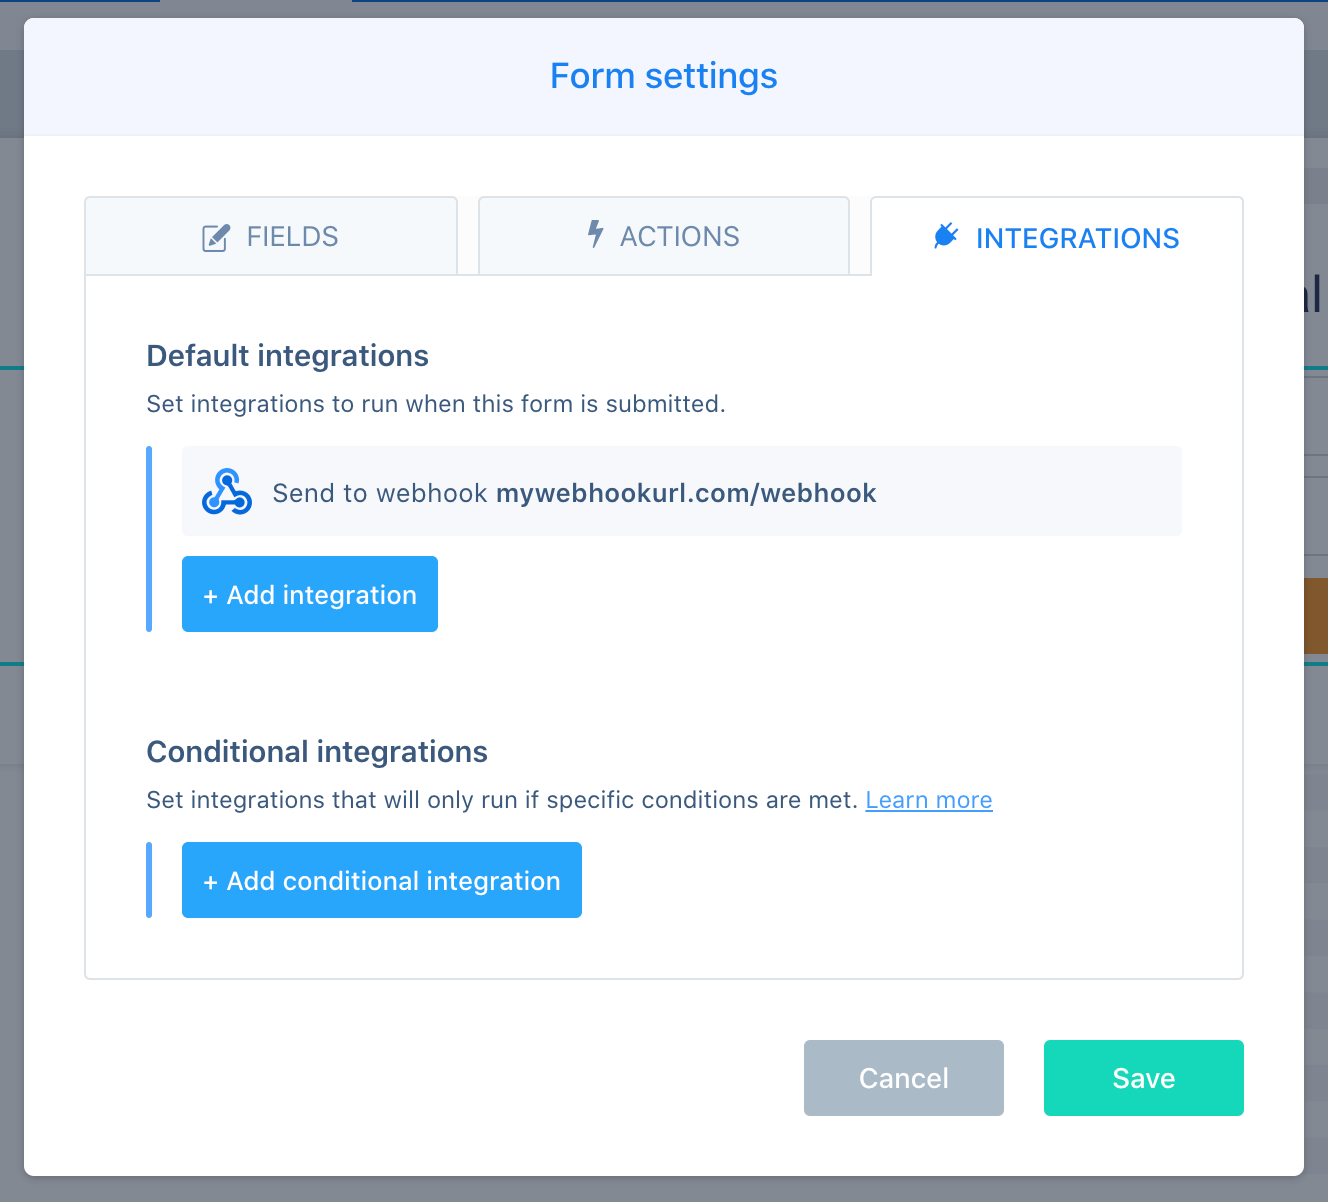
In the form settings modal select the Integrations tab and then select the Add integration button under the default integrations.
Step 8
On the Use integration option select Webhooks then paste the webhook URL copied from Zapier in step 5 into the Webhook url field and click the Send test button.
You MUST click the Send test button before proceeding or the following steps in Zapier will not work.
Wait for the test to send (usually take 1-3 seconds) and then click Add form action.
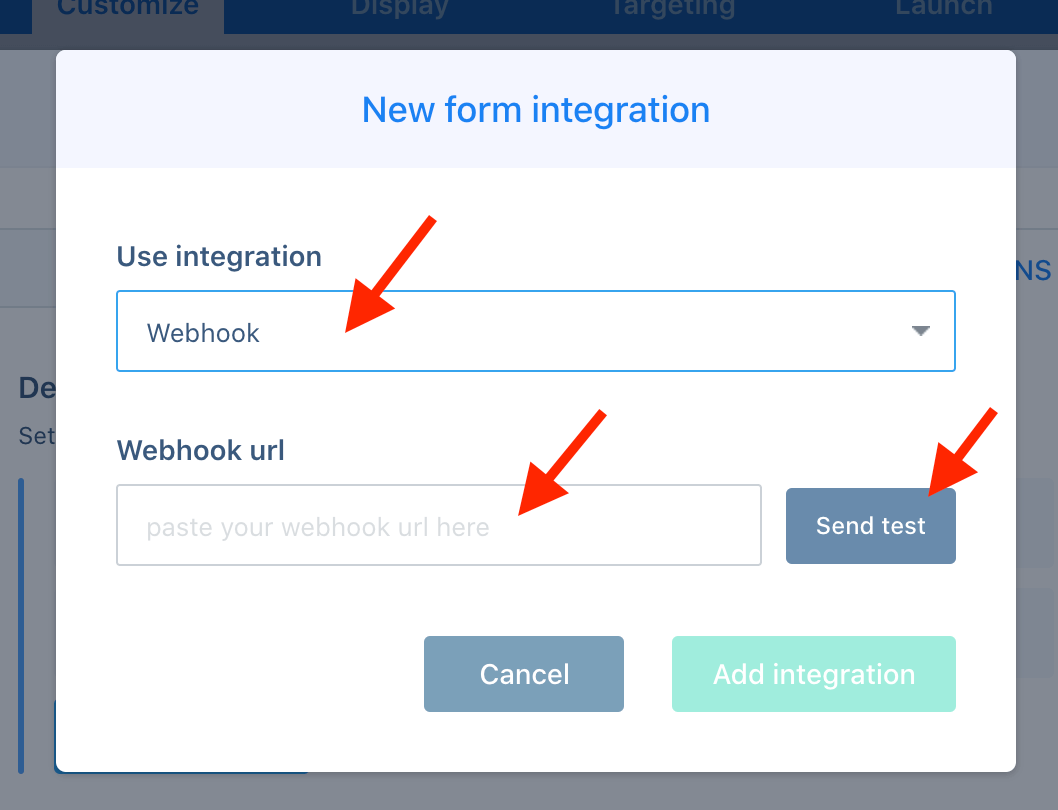
Once the test has sent select “Add integration” and your new integration will show under the form integrations tab.
Step 9
Your new Webhook action will now appear in your list of integrations for this form.
Click Save to close the Form actions modal and don’t forget to Save the changes to your ConvertBox in the editor.
Step 10
Go back to your Zapier page and click OK, I did this.
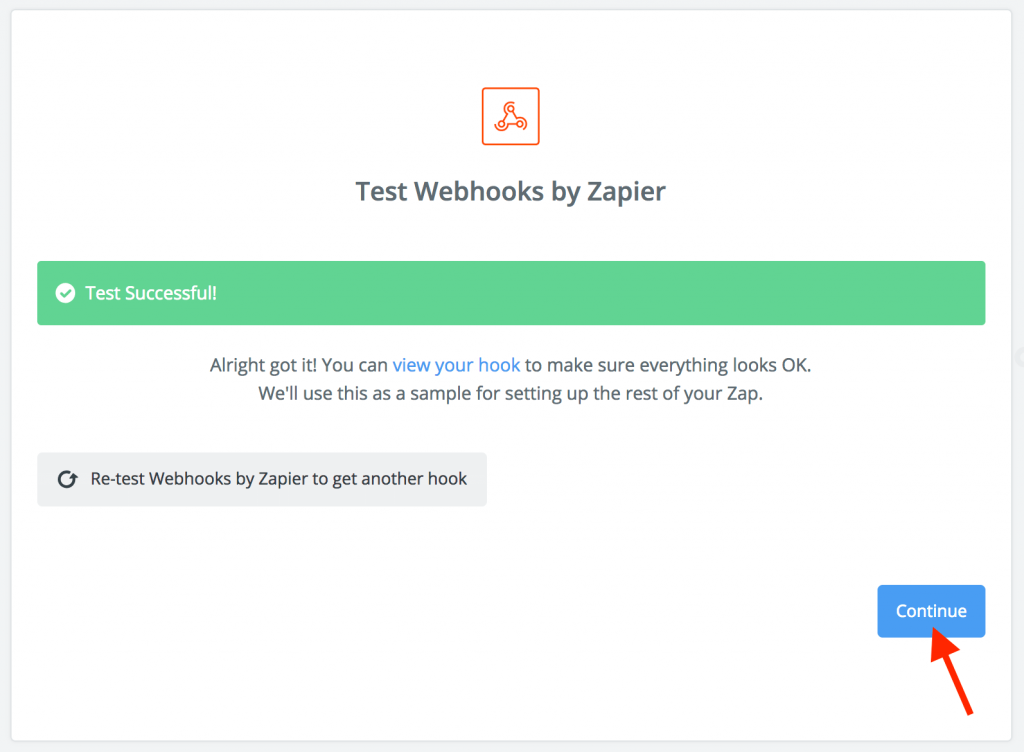
If your webhook connection was successful you’ll see a success message in Zapier. Click Continue to finish creating your trigger and move on to creating an action.
If you don’t see this message after waiting a few minutes go back to step 9 and make sure you sent the test from ConvertBox, then come back to Zapier and select OK, I did this again.
Creating a Zapier Action
Now that you’ve successfully connected Zapier to ConvertBox, you’re ready to configure what Zapier should do with the data sent by ConvertBox when a visitor subscribes.
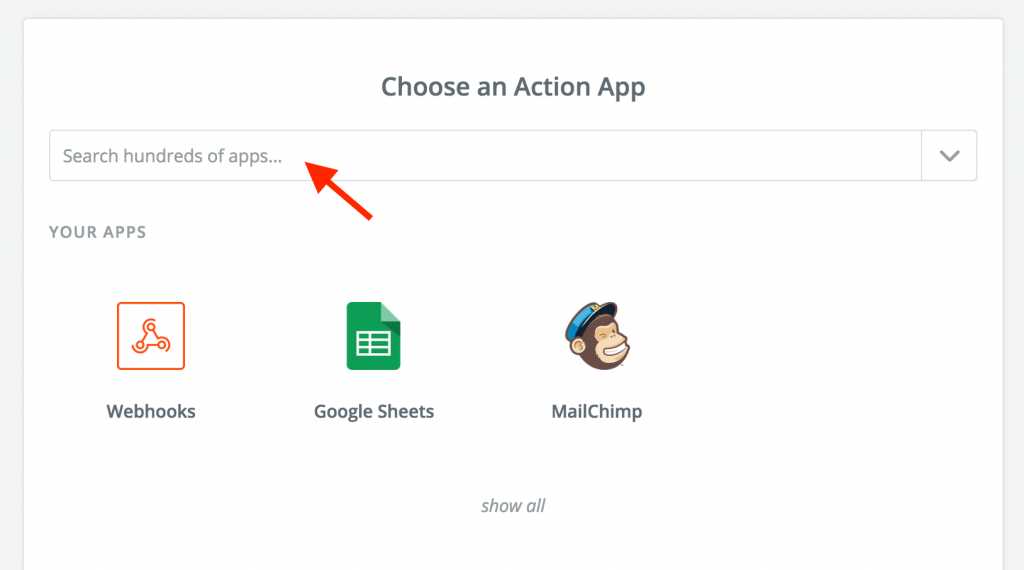
Depending on the app you want to integrate with, you may need some or all of the data passed on from ConvertBox.
Here is a breakdown of the data we send for standard fields which you will be able to select when creating your trigger with the desired app.
- first_name – The contacts first name.
- last_name – The contacts last name (If given).
- email – The visitors email address.
- phone – The contacts phone number.
- website – The visitors website url
- $referer – The url the contact was on when subscribing.
- campaign_name – The name of the campaign submitted.
- convertbox_name – The name of the ConvertBox submitted.
Custom fields
If you are using custom fields on your ConvertBox form they will be automatically sent to your webhook using the custom ID you set for the field.
