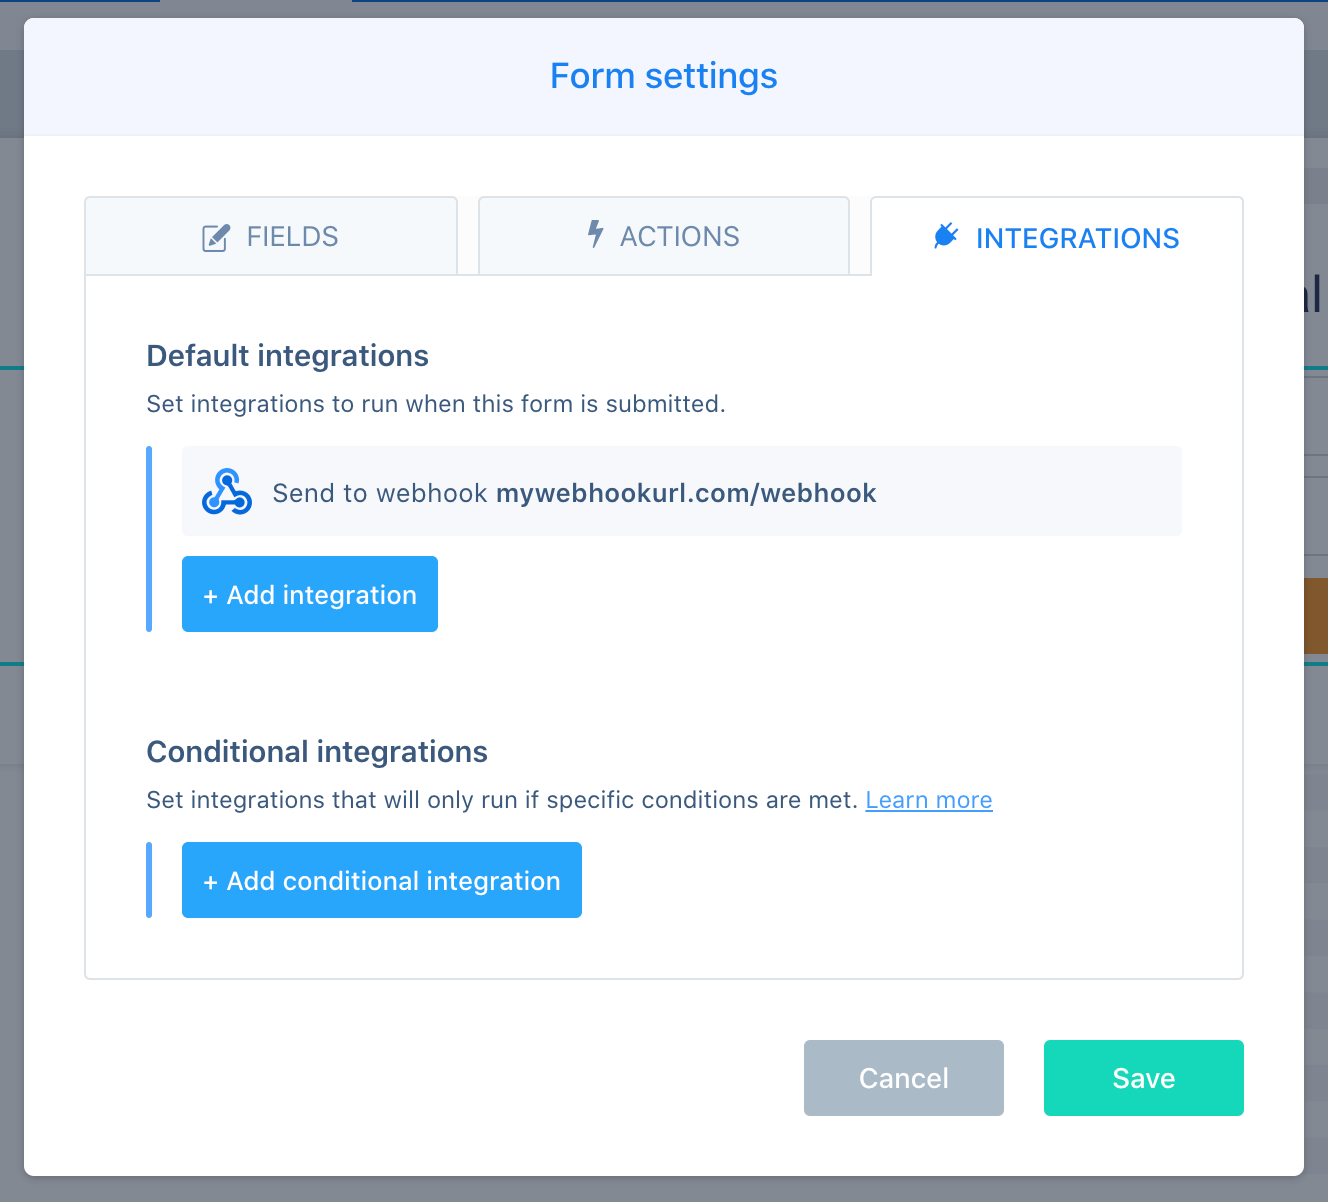
In this short article, we will show you how to set up a webhook inside ConvertBox to submit data to your app or custom integration.
If you are looking for our Zapier integration please see this article.
Webhook data structure
Webhook notifications are sent via HTTP POST request, and the data will be formatted via JSON and resemble the example below:
{
  "first_name": "John",
  "last_name": "Smith"
  "email": "test-webhook@convertbox.com",
  "phone": "0123456789",
  "website": "mysite.com",
  "$referer": "http://mysite.com/signupurl",
  "campaign_name": "My campaign name",
  "convertbox_name": "My ConvertBox name",
  "convertbox_id": 1234,
}
Here is a breakdown of the data sent for all of our standard fields
- first_name – The contacts first name.
- last_name – The contacts last name (If given).
- email – The visitors email address.
- phone – The contacts phone number.
- website – The visitors website url
- $referer – The page url the contact was on when subscribing.
- campaign_name – The name of the campaign submitted.
- convertbox_name – The name of the ConvertBox submitted.
- convertbox_id – The unique ID number of the ConvertBox.
Working with custom fields
If you are using custom fields on your ConvertBox form they will be automatically sent to your webhook using the custom ID you set for the field.
How to set up your webhook with ConvertBox
Step 1
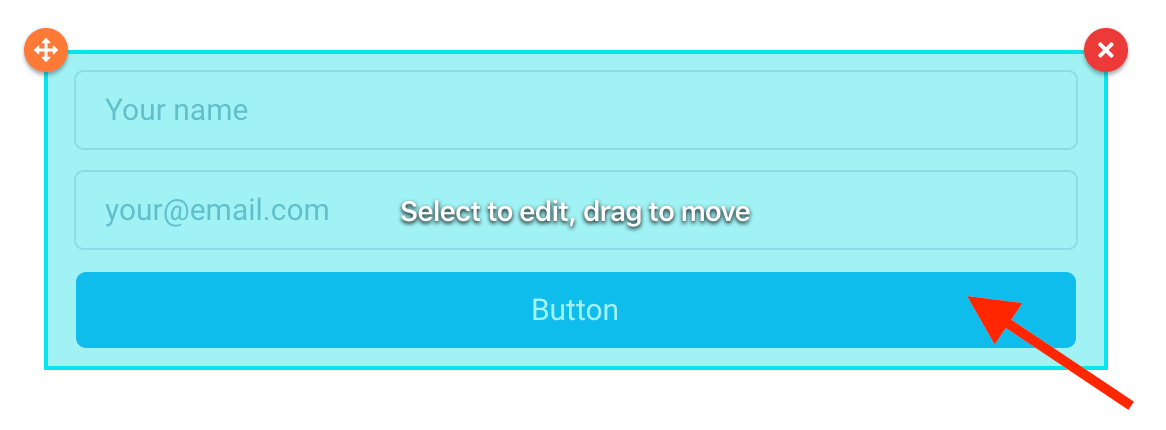
Edit your ConvertBox and select the form element you want to use webhooks with.
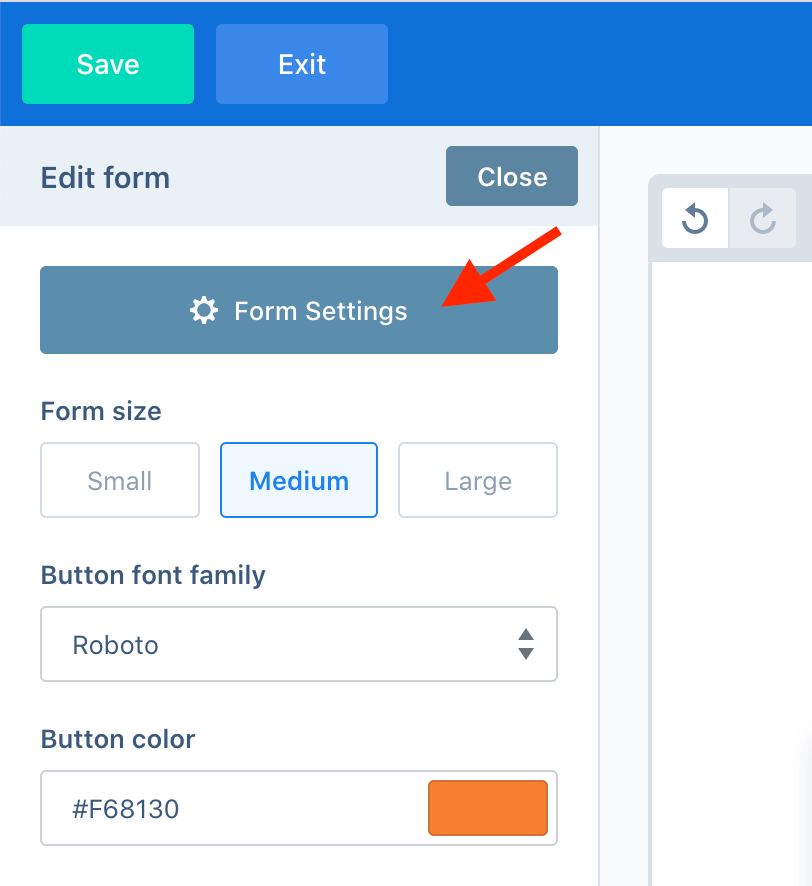
Then on the left sidebar select the Form settings button.
Step 2
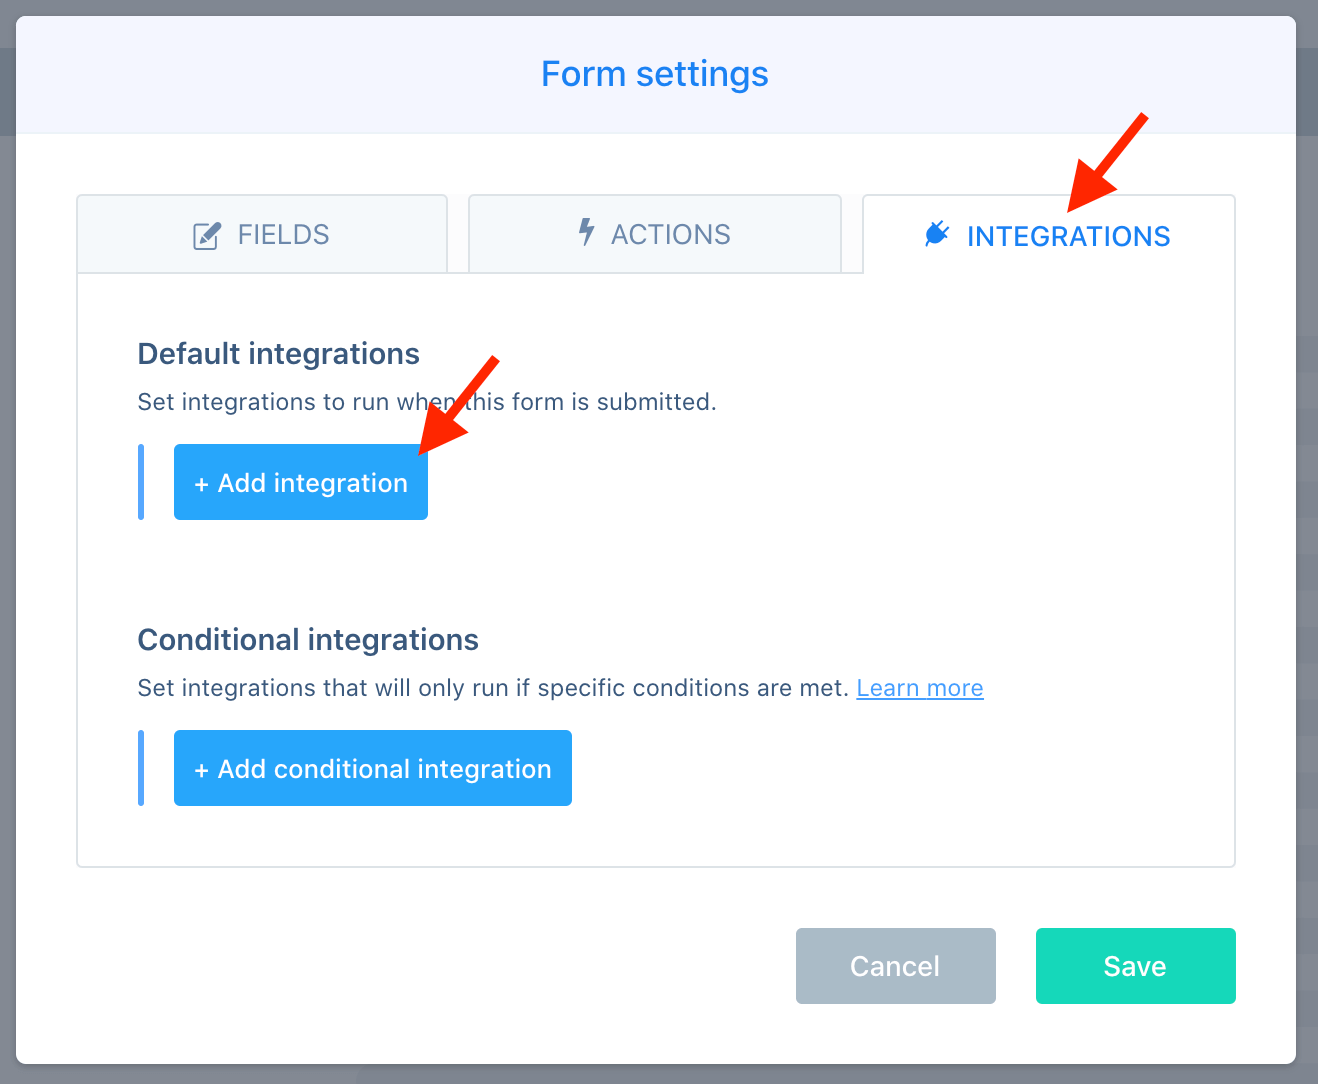
Go to the Integrations tab and select Add integration under the default integrations section.
Step 3
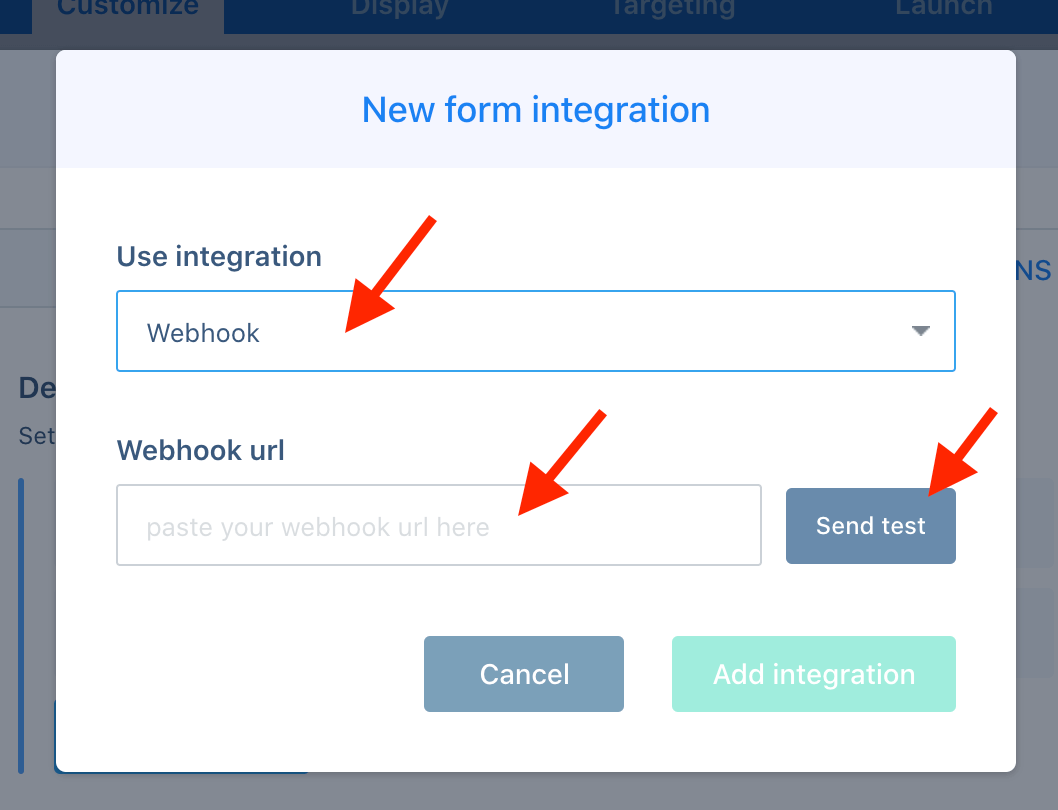
On the Use integration option select Webhooks then paste your webhook URL into the Webhook url field.
Now you can click the Send test button to send test data to your webhook URL for all the fields currently on your ConvertBox.
Wait for the test to send (usually take 1-3 seconds) and then click Add integration.
Step 4
Your new Webhook action will now appear in your list of actions for this form.
Click Save to close the Form actions modal and don’t forget to Save the changes to your ConvertBox in the editor.
