Although ConvertBox supports most of the major email service providers with native integrations (and we are adding more all the time), in some cases you may need another way to integrate with ConvertBox.
This leaves you with a couple of other options..
- You can integrate using our webhooks either directly or via Zapier. You can find our support articles for webhooks here and for Zapier integration here. Webhooks are the next best thing to a native integration because it still allows you to take full advantage of our many powerful form features.
- Or – Alternatively, you can use our custom HTML form integration which is what we will be covering in this support article.
Integrating your HTML form code
Step 1
First you will need to get the HTML form code from your email service provider. The steps for this will vary depending on who your service provider is so we recommend referencing your service providers support docs for the exact steps.
Create a form with name and email fields, if you have more fields don’t worry ConvertBox will strip out any code that is not required automatically during the integration process.
Once you have created a form with your service provider they will give you some HTML form code to install it on your website, keep this code ready to copy as we will need it in the following steps.
Step 2
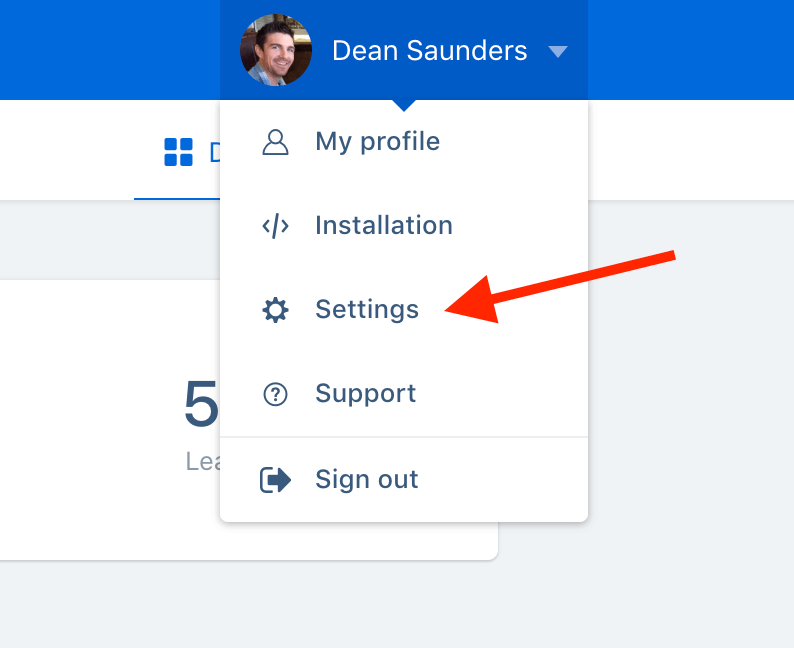
Once you have your HTML form code now you can go to your ConvertBox account and click on your profile image in the top right hand corner and select “Settings” from the drop down menu.
Step 2
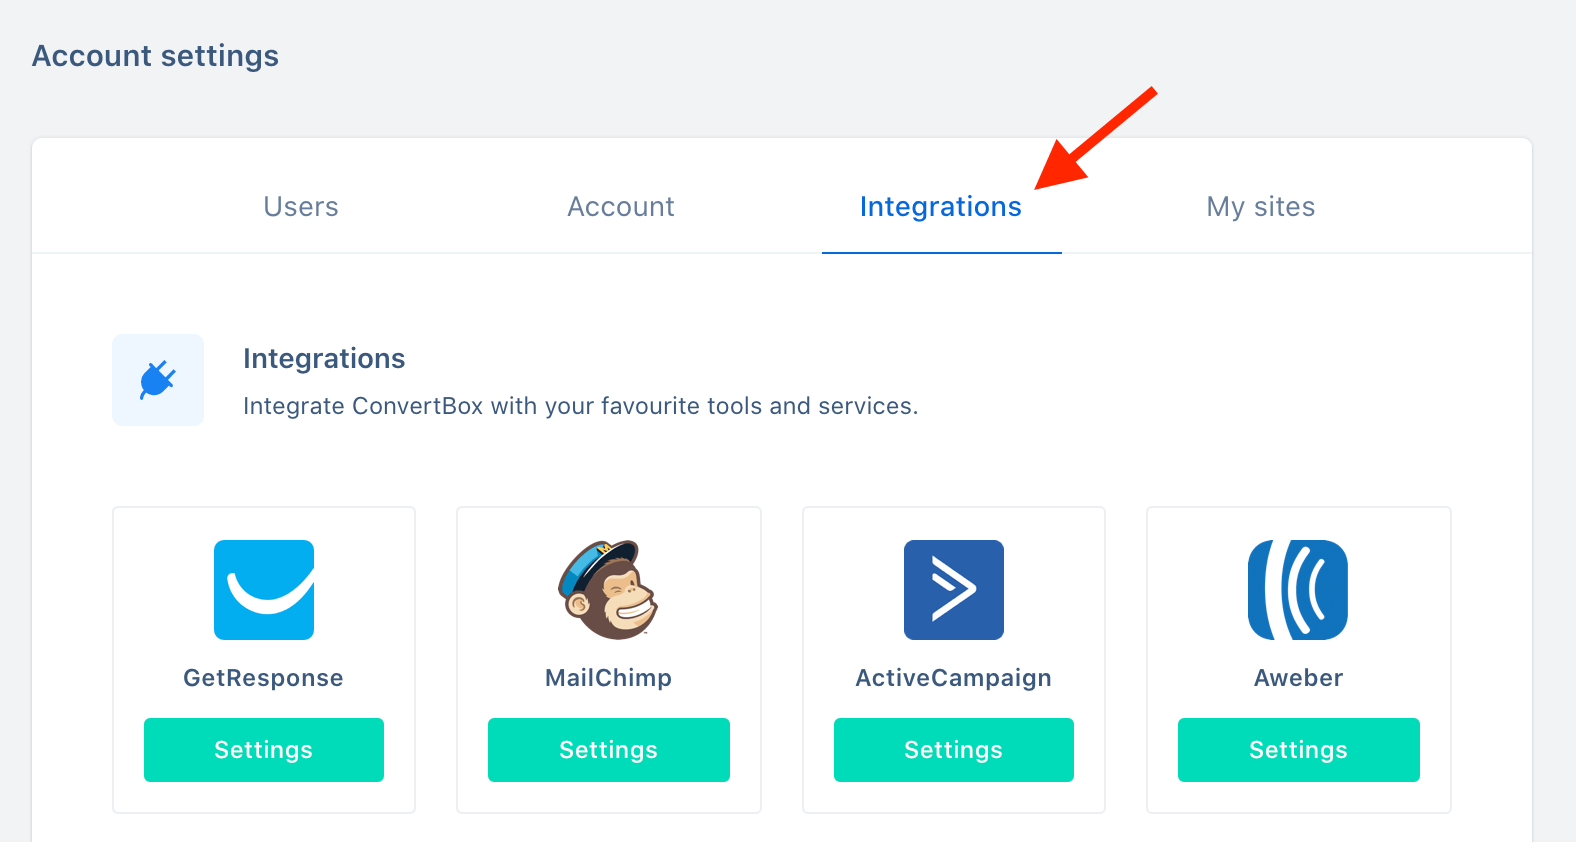
Select the Integrations tab.
Step 3
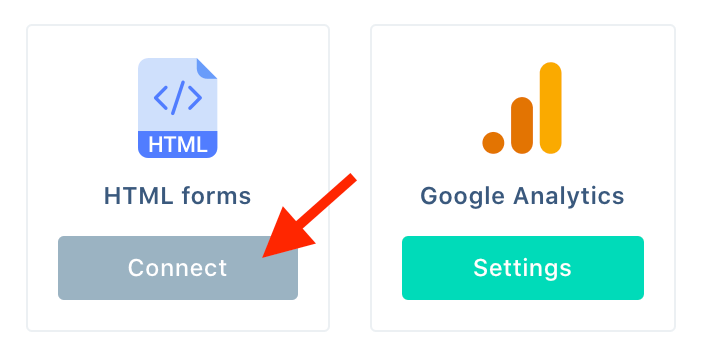
From our integrations select Custom HTML form.
Step 4
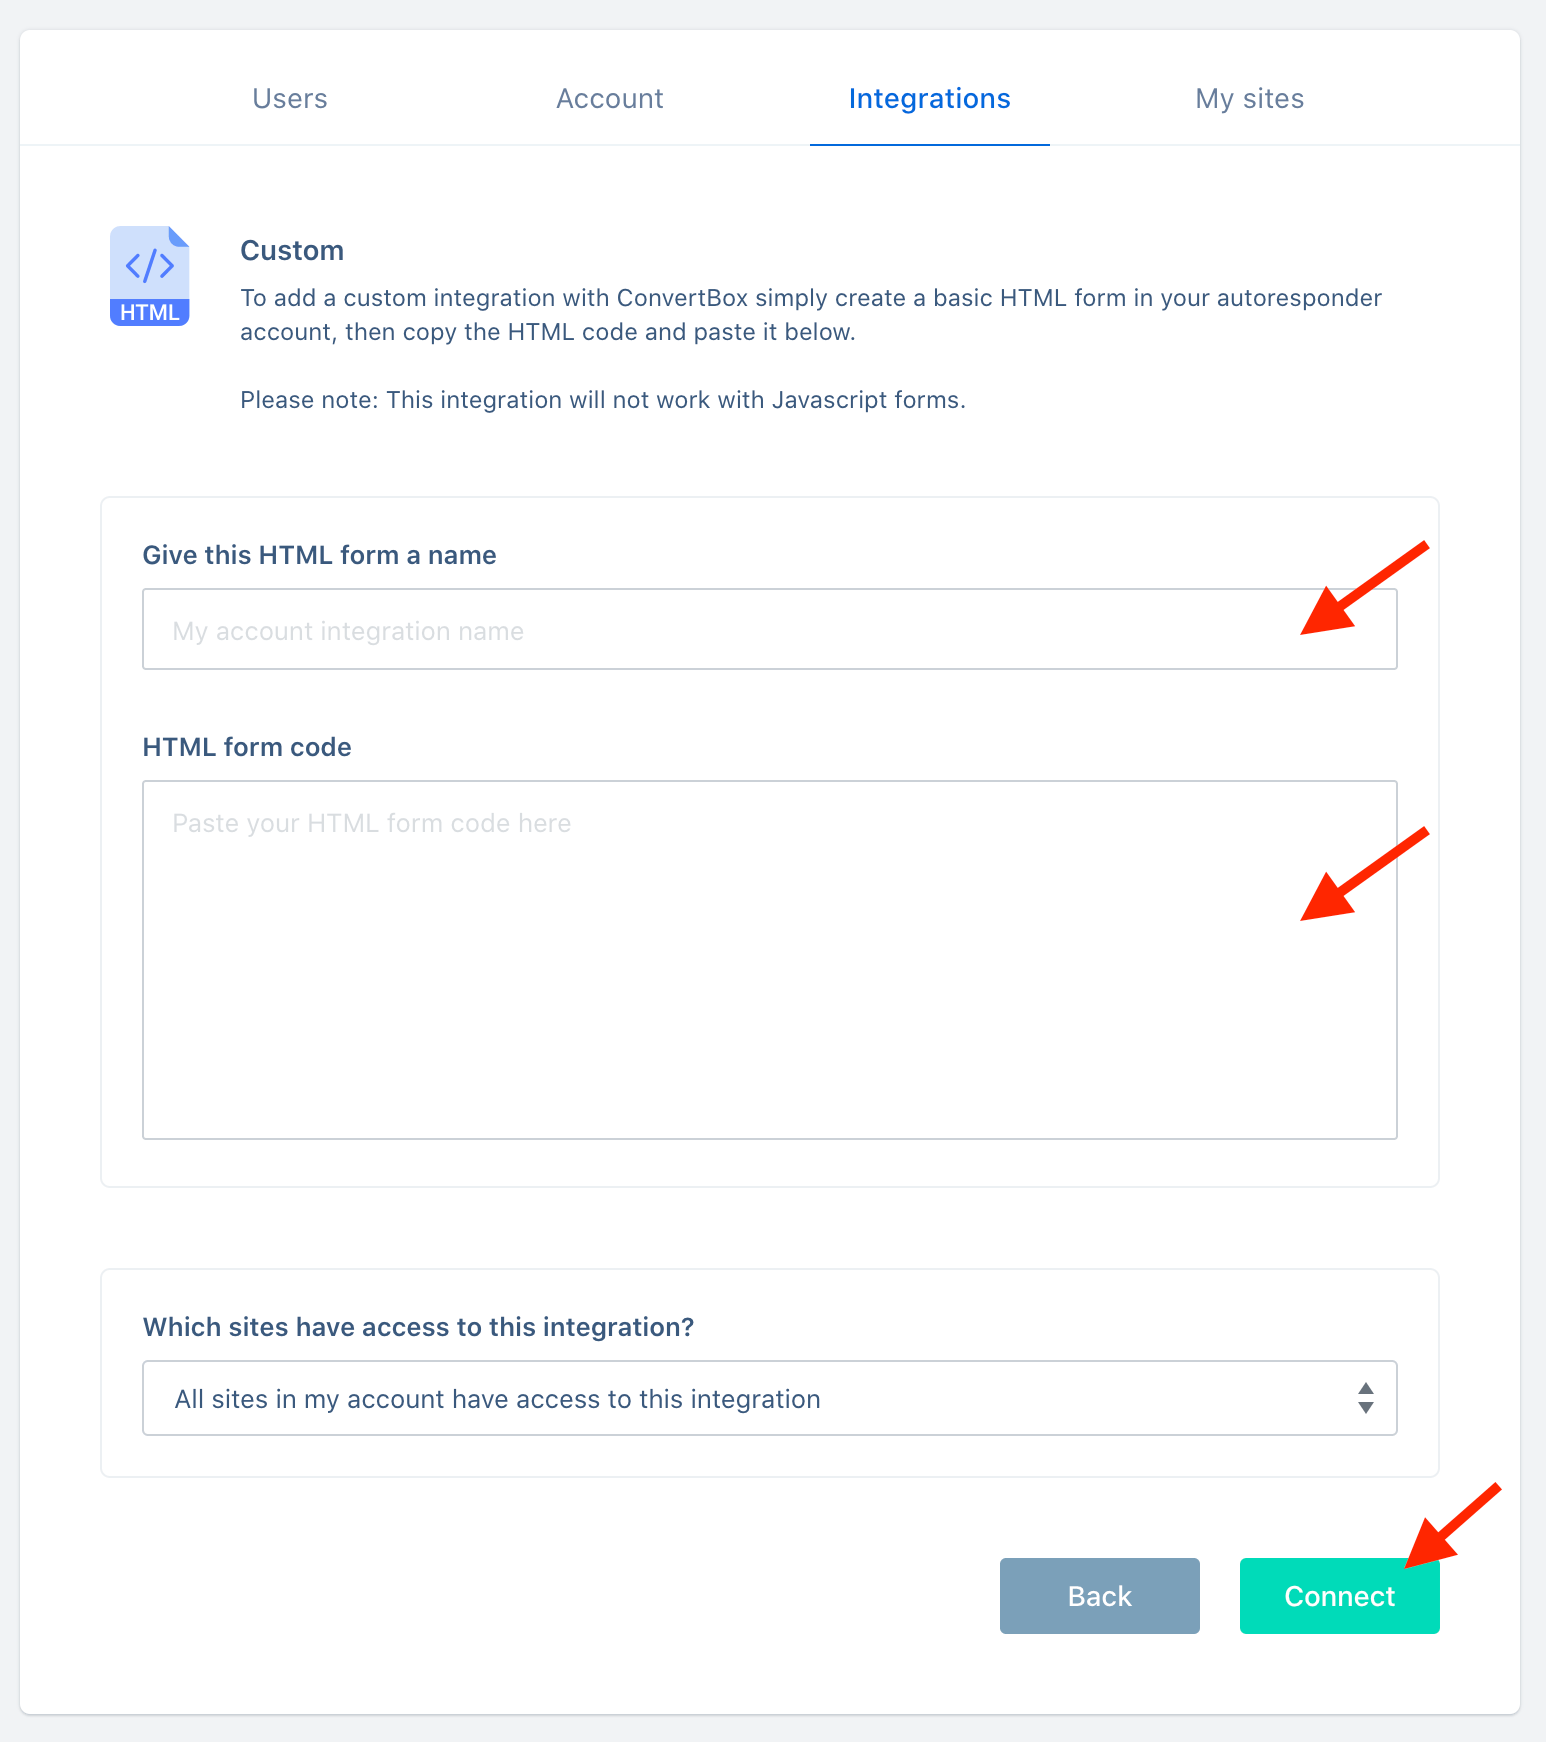
First give your HTML form integration a name that will help you easily identify it later, usually this name will be related to the list or tag your HTML form is connected to. Then paste your HTML form code (from the form you created in step 1) into the field below and click Connect.
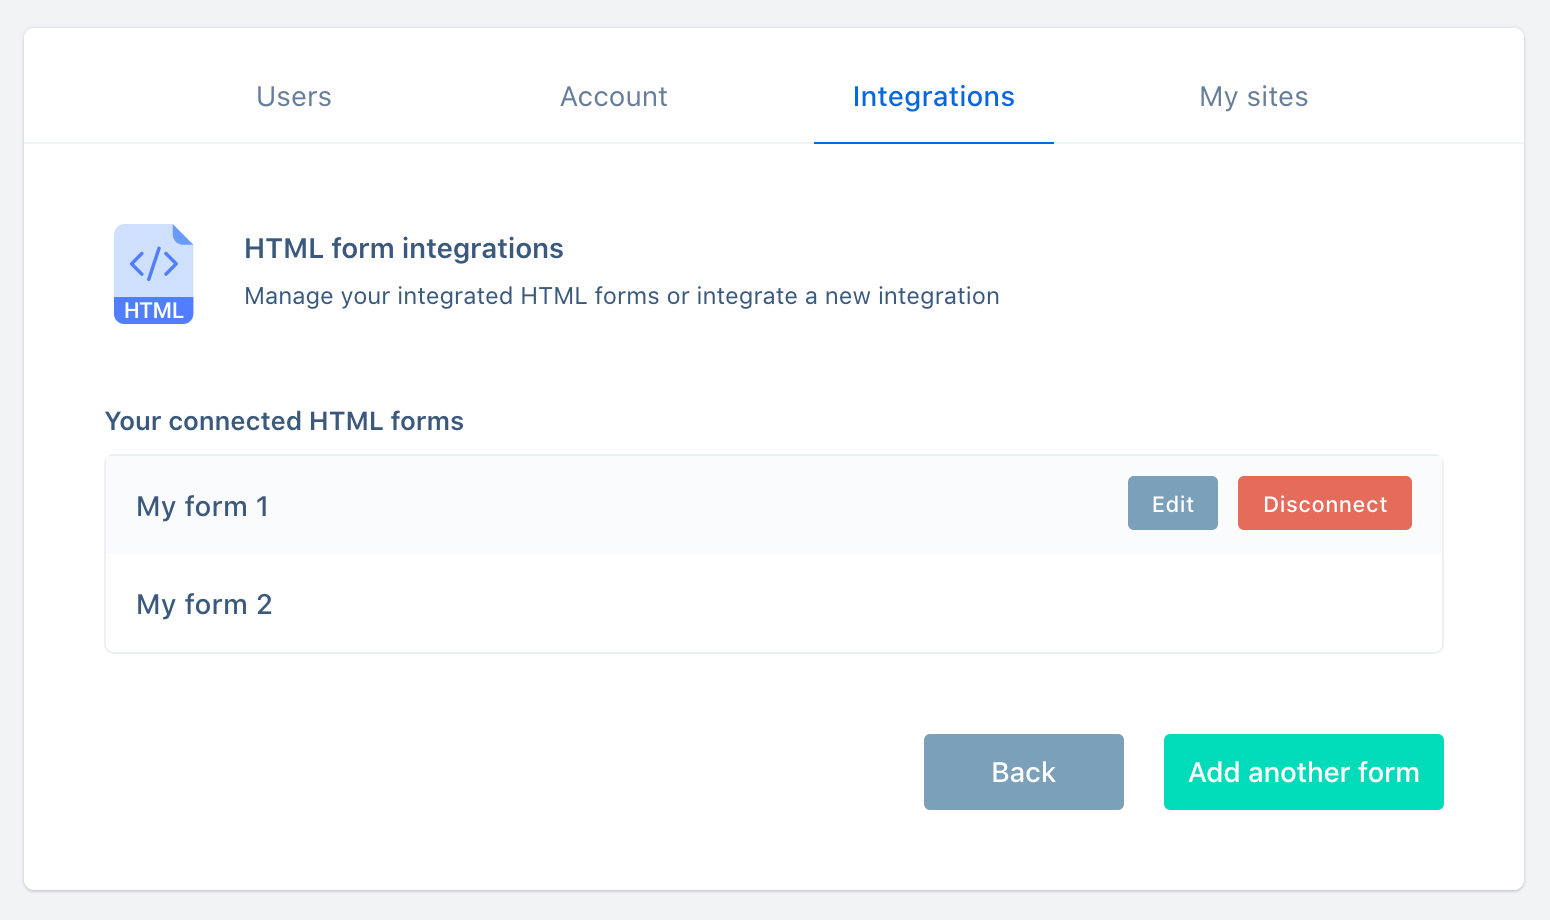
Your new form integration will appear on a list, you can now easily add another form integration by selecting Add another form.
You’re all done! 🥳
Your HTML form will now be available to select in the editor on your form integrations allowing you to add contacts collected with ConvertBox directly to the form.
As always if you have any questions, please reach out to our friendly support team.
What if my HTML form integration is not working?
Although we do our best to make sure our HTML form integration works with most standard HTML forms and fields in some rare cases your field ID’s may not be supported.
If you have integrated your HTML form and run a test but the contact is not being added to your list then please contact us and provide us with the name of the ConvertBox, the URL it is being displayed on and your HTML form code (in a plain txt document) so we can check everything from our side.