If you’re looking to connect ConvertBox to a platform or service that we don’t currently have a native integration for then SyncSpider is the possible solution!
SyncSpider is a platform similar to Zapier.
Using our webhooks to create an SyncSpider integration allows you to easily connect ConvertBox to hundreds of platforms and services.
In this short article, we’ll show you how to set up ConvertBox as a trigger in SyncSpider ready to start connecting your favourite apps. This article has been copied from SyncSpiders own documentation here.
With SyncSpiders’ ConvertBox integration, you’ll be able to send contact data to any 3rd party app SyncSpider supports, either on schedule- at specific intervals, or by an event. The task can be triggered on the following events:
• on successful completion of a different task
• on submittal of data
Step 1:
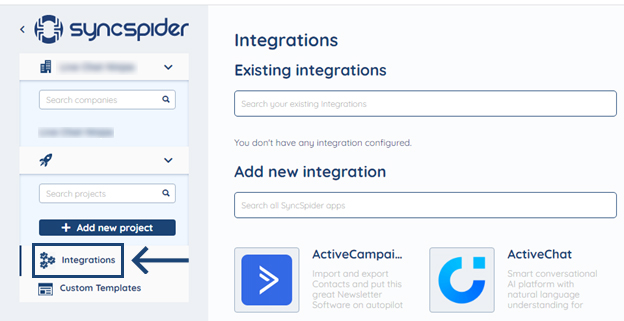
First, login to your SyncSpider account, click on the option ‘Integrations’ located on the left side of the screen as shown below.
Step 2:
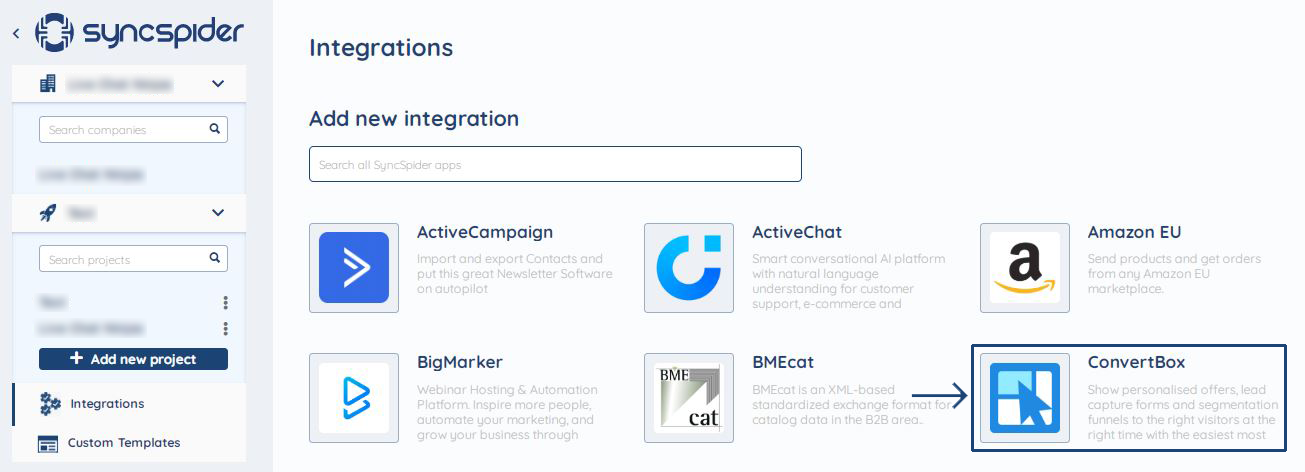
Now, you will see the list of integrations offered by SyncSpider, select ConvertBox application from the list.
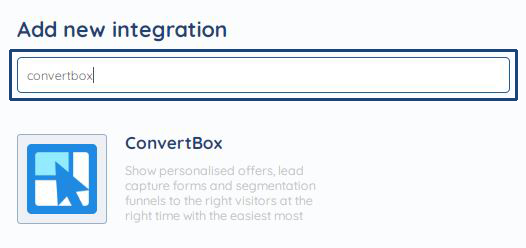
Or use the search bar to find it easily:
P.S. You can also add new integrations while creating the tasks.
Step 3:
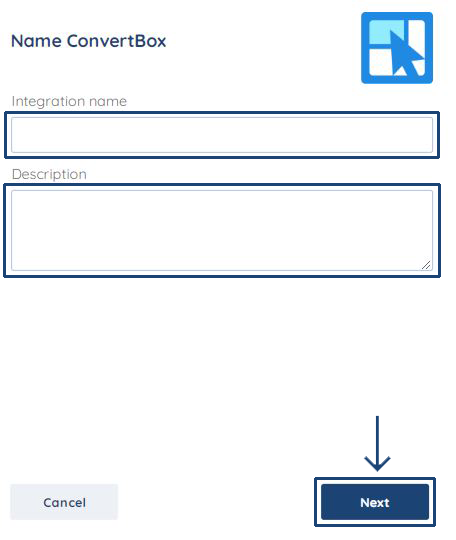
After selecting convert Box, you will be directed to enter the integration name and description. Then click on the next button.
NOTE: You can have more than one integration with one app/tool. E.G. Integrate your Google sheet with business email and WooCommerce. Using descriptions will help you to organize better.
Step 4:
Necessary instructions will be given during the configuration of the source integration.
Copy the URL given to ConvertBox Webhooks field and press SEND TEST and Refresh schema. To get an idea how to integrate with ConvertBox using webhooks, please check this link: https://support.convertbox.com/knowledge-base/webhooks/
Step 5
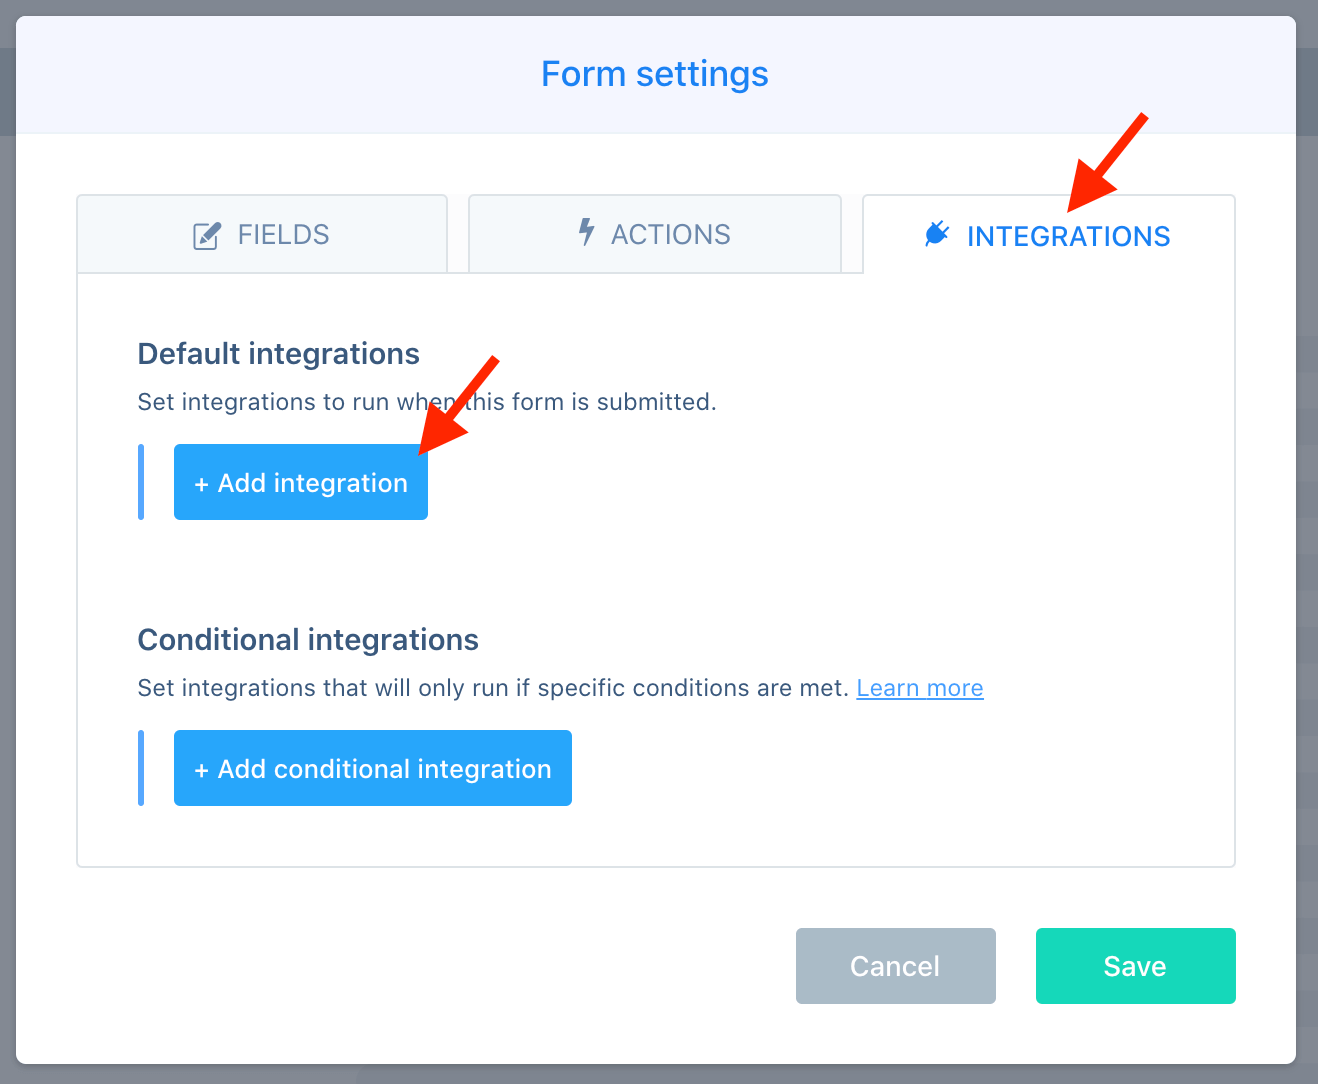
In your form settings for your ConvertBox, you’ll need to select the Integrations tab and then select the Add integration button under the default integrations.
Step 6
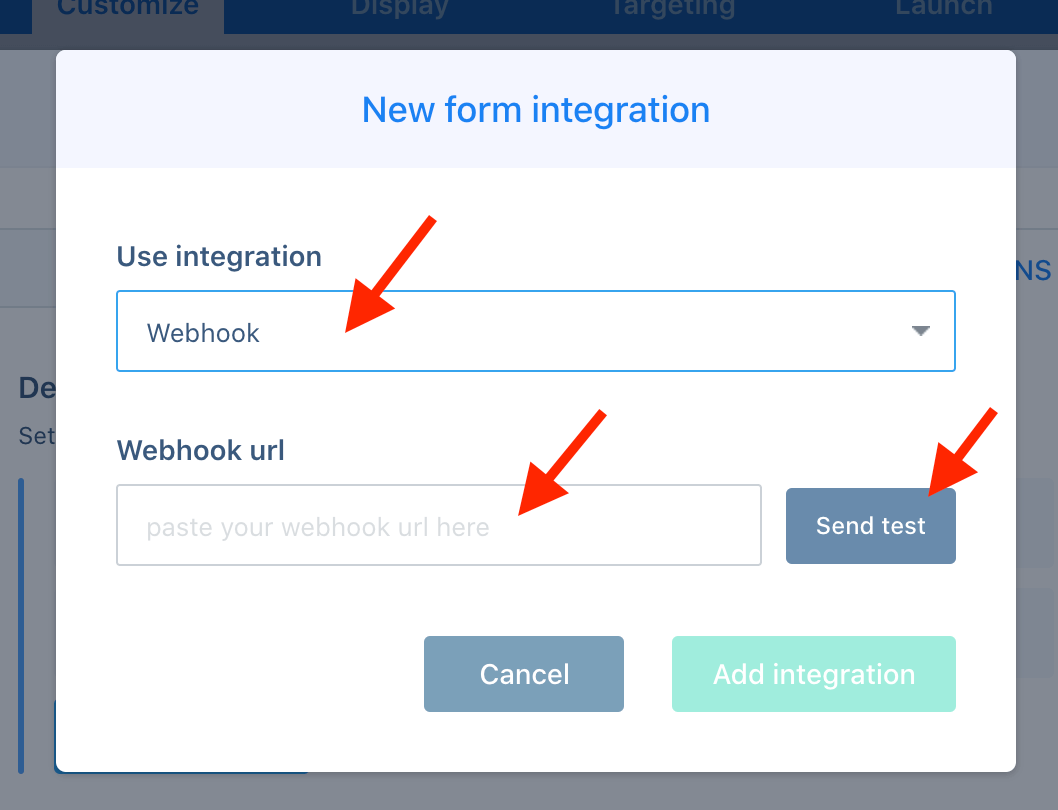
On the Use integration option select Webhooks then paste the webhook URL copied from SyncSpider in step 5 into the Webhook url field and click the Send test button.
You MUST click the Send test button before proceeding or the following steps in SyncSpider will not work.
Wait for the test to send (usually take 1-3 seconds) and then click Add form action.
Step 7:
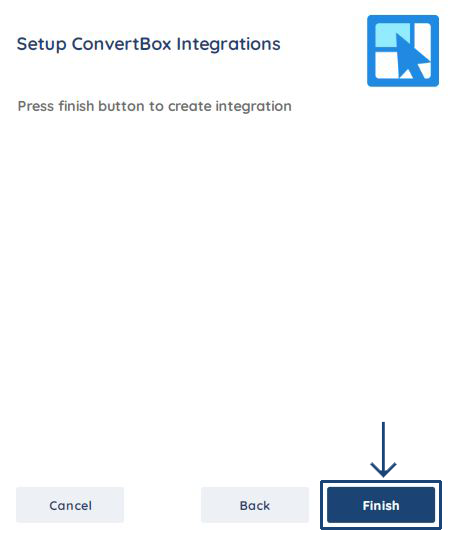
The final step is to click on the finish button to set up the integration.
The integration is successful!!
If you have any further questions about SyncSpiders integration, we recommend speaking to SyncSpider directly.
